
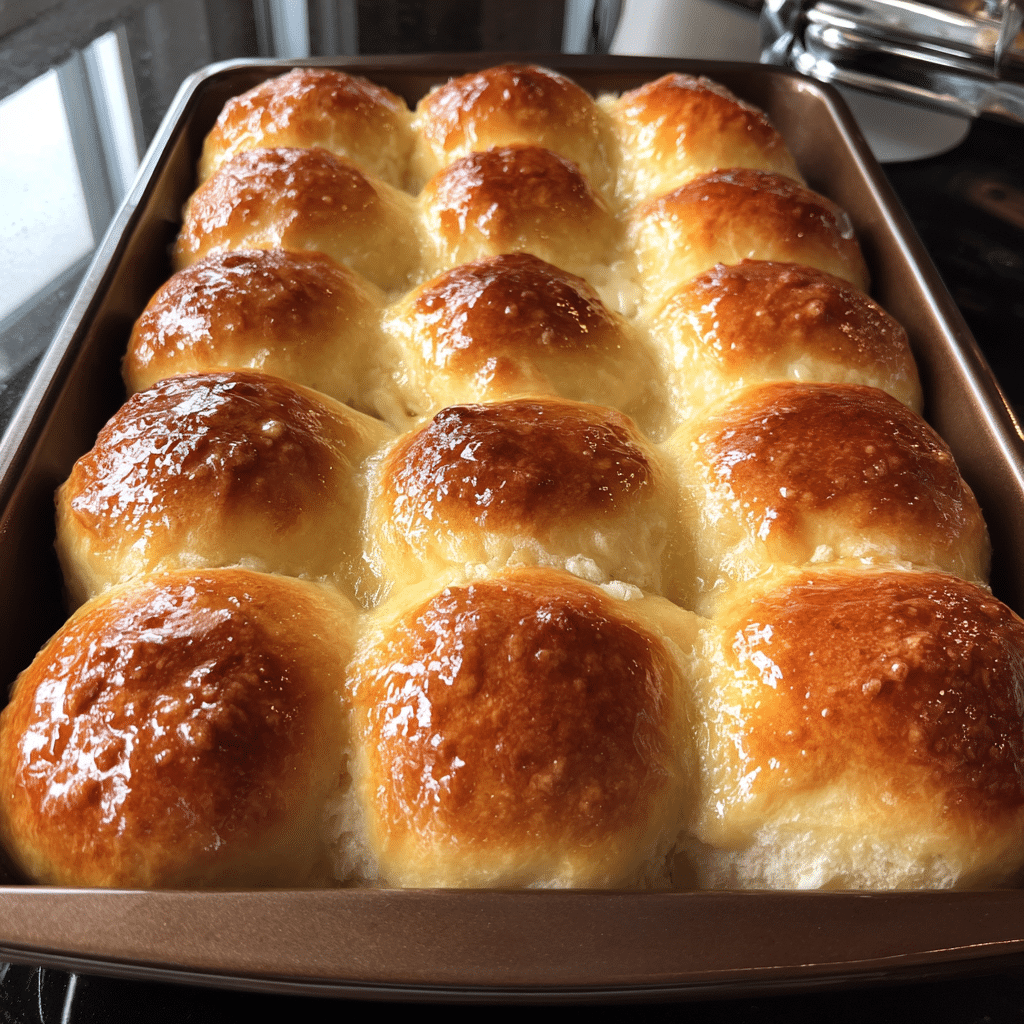
There’s something truly special about a recipe that’s been passed down through generations — and Mother’s Refrigerator Rolls are one of those comforting classics. These soft, golden rolls are rich with buttery flavor, slightly sweet, and impossibly fluffy. Perfect for holidays, Sunday dinners, or any occasion that calls for homemade bread, these rolls have stood the test of time for good reason.
The beauty of this recipe lies in its convenience — the dough can be made ahead and stored in the refrigerator until you’re ready to bake, making it ideal for busy days. When I first made these, I brushed the tops with melted butter right out of the oven, and the result was heavenly. Warm, pillowy, and fragrant, these rolls truly taste like home.
Why You’ll Love This Recipe
Mother’s Refrigerator Rolls are everything homemade rolls should be: light, airy, and full of buttery sweetness. The make-ahead dough allows you to enjoy freshly baked rolls anytime with minimal effort. These are perfect alongside roast dinners, soups, or holiday feasts — or simply enjoyed warm with butter and jam. They’re soft on the inside, golden on the outside, and guaranteed to fill your kitchen with the irresistible smell of baking bread.
Print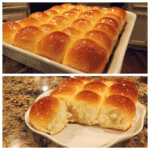
Mother’s Refrigerator Rolls: Soft, Buttery, and Timeless
- Total Time: 3 hrs (including resting and rising)
- Yield: 24 rolls
- Diet: Vegetarian
Description
Mother’s Refrigerator Rolls are soft, buttery, and perfectly tender yeast rolls that can be made ahead and kept in the refrigerator until ready to bake — a timeless family favorite that’s perfect for holidays, Sunday dinners, or any special occasion.
Ingredients
- 1 packet (2 1/4 tsp) active dry yeast
- 1/2 cup warm water (about 110°F / 43°C)
- 1/2 cup sugar
- 1 cup whole milk
- 1/2 cup unsalted butter, melted and cooled
- 2 large eggs
- 1 1/2 tsp salt
- 4 1/2 to 5 cups all-purpose flour (divided)
- 2 tbsp melted butter (for brushing tops)
Instructions
- In a small bowl, dissolve yeast in warm water and let stand for 5–10 minutes, until foamy.
- In a large mixing bowl, combine sugar, milk, melted butter, eggs, and salt. Stir until well blended.
- Add the yeast mixture to the wet ingredients and stir to combine.
- Gradually add 4 cups of flour, one cup at a time, mixing until a soft dough forms. Add additional flour as needed until the dough is soft but not sticky.
- Turn the dough onto a lightly floured surface and knead for about 5–7 minutes, until smooth and elastic.
- Place dough in a greased bowl, turning once to coat. Cover and refrigerate for at least 2 hours or up to 3 days. Punch down dough as it rises in the refrigerator.
- When ready to bake, remove dough from the fridge and shape into rolls (about 2 inches in diameter). Place on a greased baking sheet or in a 9×13-inch pan.
- Cover and let rise at room temperature for 1–1.5 hours, or until doubled in size.
- Preheat oven to 375°F (190°C). Bake rolls for 15–18 minutes, or until golden brown.
- Brush hot rolls with melted butter immediately after baking for a soft, glossy finish.
Notes
- Dough can be stored in the refrigerator for up to 3 days before baking.
- Perfect for making ahead for holidays or large gatherings.
- For sweeter rolls, increase sugar to 3/4 cup.
- Serve warm with butter, honey, or jam for the best flavor.
- Prep Time: 20 mins (plus rise time)
- Cook Time: 18 mins
- Category: Bread
- Method: Baking
- Cuisine: American
Ingredients
(Tip: You can find the complete list of ingredients and their measurements in the recipe card below.)
2 packages active dry yeast – Provides the lift that makes the rolls light and fluffy.
1 large egg, beaten – Adds richness and helps create a tender crumb.
3/4 teaspoon salt – Balances sweetness and enhances overall flavor.
1/2 cup plus 1 tablespoon granulated sugar – Sweetens the dough slightly and helps activate the yeast.
1/2 cup warm water (not too hot) – Used to dissolve and activate the yeast; water that’s too hot can kill it.
1/2 cup shortening (Crisco or lard) – Keeps the rolls moist and soft.
2 cups warm water (not hot) – Combines with the flour to form the dough and helps with yeast activation.
6 cups all-purpose flour (Martha White or White Lily) – Forms the base of the dough; these brands produce a soft, tender roll.
2 sticks margarine or butter (for dipping and brushing) – Adds flavor and gives the rolls their rich, golden finish.
Directions
- Activate the Yeast
In a small bowl, dissolve 2 packages of yeast in 1/2 cup warm water (around 105–110°F). Add 1 tablespoon sugar and let it sit for about 5–10 minutes, or until foamy and bubbly — this means the yeast is active. - Mix the Wet Ingredients
In a large mixing bowl, combine shortening, 2 cups warm water, sugar, and salt. Stir until the shortening starts to melt. Add the beaten egg and the dissolved yeast mixture, stirring to combine. - Add the Flour
Gradually add flour, one cup at a time, mixing until a soft dough forms. The dough should be slightly sticky but easy to handle. If needed, add a bit more flour, but don’t overdo it — this helps keep the rolls soft. - First Rise
Cover the bowl loosely with plastic wrap or a clean towel and let the dough rise in a warm place until doubled in size (about 1½ to 2 hours). - Refrigerate the Dough
After the first rise, punch the dough down, cover tightly, and refrigerate. The dough can be kept in the refrigerator for up to 3 days. This is what makes these “refrigerator rolls” — you can bake them fresh whenever you’re ready. - Shape the Rolls
When you’re ready to bake, pinch off small portions of dough and shape them into rolls (you can roll them into balls, knots, or crescent shapes). Dip each roll into melted butter or margarine, then place them on a greased baking sheet or pan. Cover loosely and let them rise in a warm place for about 1 hour, or until doubled in size. - Bake the Rolls
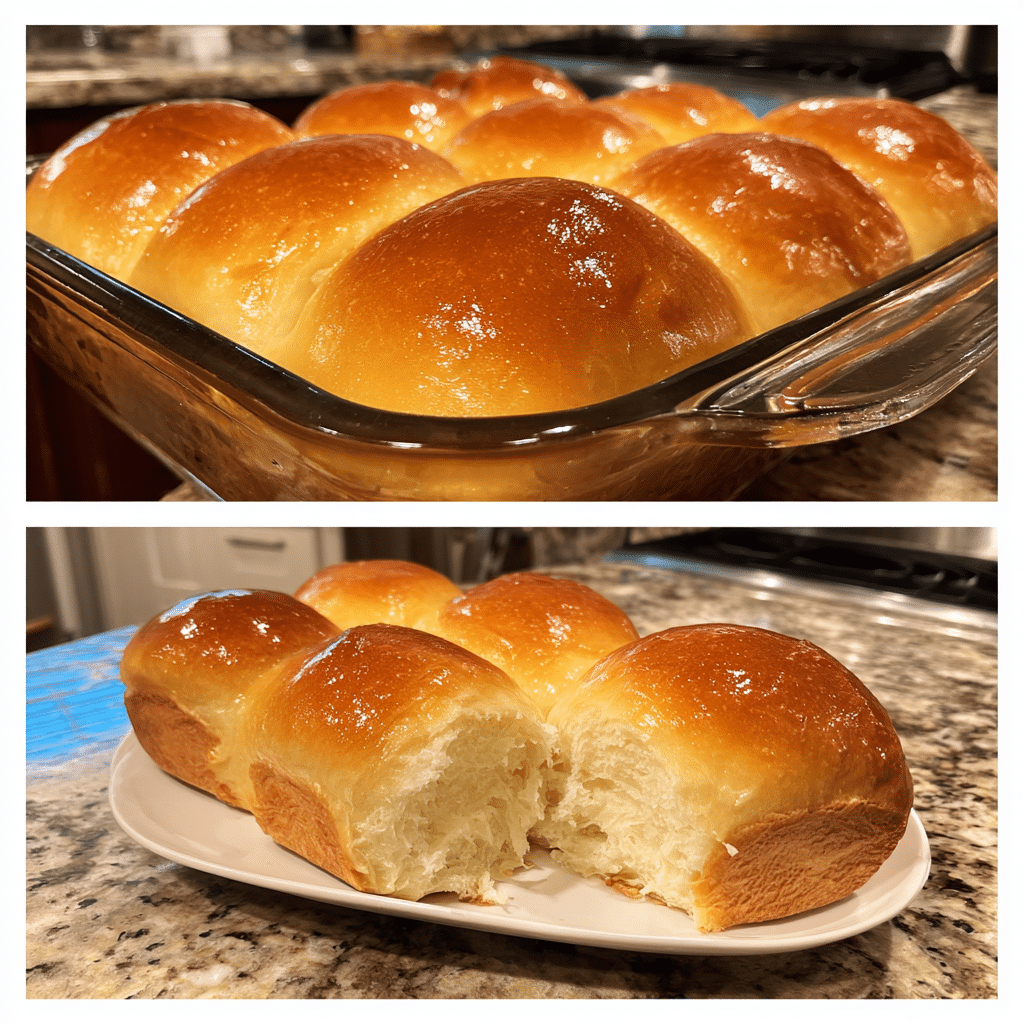
Preheat the oven to 375°F (190°C). Bake the rolls for 15–20 minutes, or until golden brown on top. Brush with additional melted butter right after removing from the oven for a soft, buttery finish. - Serve and Enjoy
Serve warm with butter, honey, or jam. These rolls pair beautifully with any meal — or are simply perfect on their own.
Equipment needed :
Must-Have Tools to Get Rolling
Here’s what you’ll want to have on hand:
Silicone Spatula – Durable, heat-resistant silicone spatula perfect for mixing, scraping, and spreading. Gentle on non-stick cookware and easy to clean.
Large pot – You’ll need this to boil the whole cabbage head and soften the leaves.
large bowl –Spacious, durable large bowl ideal for mixing, serving, or food preparation. Made from sturdy material and easy to clean.
Sharp knife – For coring the cabbage and slicing out the thick stem in each leaf. A paring knife works best.
Mixing bowl – A big bowl makes it easier to combine your meat and rice filling evenly.
Cutting board – For prepping cabbage leaves and rolling them like a pro.
9×13-inch baking dish – Ideal size to fit your rolled cabbage leaves snugly and prevent them from unraveling.
knife – A sharp, durable kitchen knife perfect for slicing, chopping, and dicing with ease.
Servings and timing
This recipe makes about 24–30 rolls, depending on size. Preparation and rising take roughly 2–3 hours, though the dough can be made ahead and refrigerated for up to 3 days. Baking takes 15–20 minutes per batch.
Storage/reheating
Store baked rolls in an airtight container at room temperature for up to 2 days, or refrigerate for 5 days. To reheat, wrap in foil and warm in a 300°F (150°C) oven for 10 minutes. You can also freeze baked rolls for up to 3 months — thaw and reheat before serving.
Variations and Customizations
Honey Butter Rolls – Brush baked rolls with melted butter mixed with honey for a sweet, glossy glaze.
Garlic Butter Rolls – Add minced garlic and parsley to melted butter for a savory twist.
Whole Wheat Version – Replace half the flour with whole wheat flour for a heartier roll.
Cheese-Stuffed Rolls – Tuck a cube of cheddar or mozzarella into the center before shaping.
Cinnamon Sugar Rolls – Roll small pieces of dough in cinnamon sugar before baking for a sweet treat.
Herb Rolls – Mix dried rosemary, thyme, or Italian seasoning into the dough for added flavor.
Soft Dinner Rolls – Shape larger rounds and bake in a 9×13-inch pan for pull-apart style rolls.
Brown Butter Finish – Use browned butter for brushing to add a nutty, caramelized aroma.
Mini Sandwich Rolls – Make slightly larger rolls and use them for sliders or tea sandwiches.
Make-Ahead Freezer Dough – Shape the rolls, freeze on a tray, and bake straight from frozen when needed.
FAQs
What are Mother’s Refrigerator Rolls?
They’re old-fashioned yeast rolls made from dough that can be stored in the refrigerator and baked fresh later.
How long can I refrigerate the dough?
Up to 3 days — just punch it down daily if it rises.
Can I freeze the dough?
Yes, shape the rolls, freeze them, and bake directly from frozen, adding a few extra minutes of bake time.
How do I know if my yeast is active?
It should foam and bubble after sitting in warm water with sugar for 5–10 minutes.
Can I use butter instead of shortening?
Yes, but shortening gives a slightly lighter, fluffier texture.
Can I make these without eggs?
Yes, though the egg adds richness — you can substitute with ¼ cup applesauce or yogurt.
Can I bake them in a cast-iron skillet?
Absolutely! It gives a lovely rustic crust and even browning.
What makes these rolls so soft?
The combination of shortening, sugar, and butter keeps the dough moist and tender.
Can I use instant yeast instead of active dry yeast?
Yes, skip the activation step and mix it directly into the flour.
Do I need to let them rise after refrigerating?
Yes, once shaped, allow them to rise until doubled before baking for the fluffiest results.
Conclusion
Mother’s Refrigerator Rolls are the kind of recipe that defines homemade comfort — warm, soft, and buttery with just the right touch of sweetness. With their make-ahead convenience and timeless flavor, these rolls are perfect for any occasion, from family dinners to festive holidays. Simple to prepare and always delicious, this recipe proves that some traditions never fade — they just keep getting better with every generation.
Hungry for more? Visit our website for full recipes and follow us on Pinterest for daily foodie inspo you’ll love to pin!