Introduction
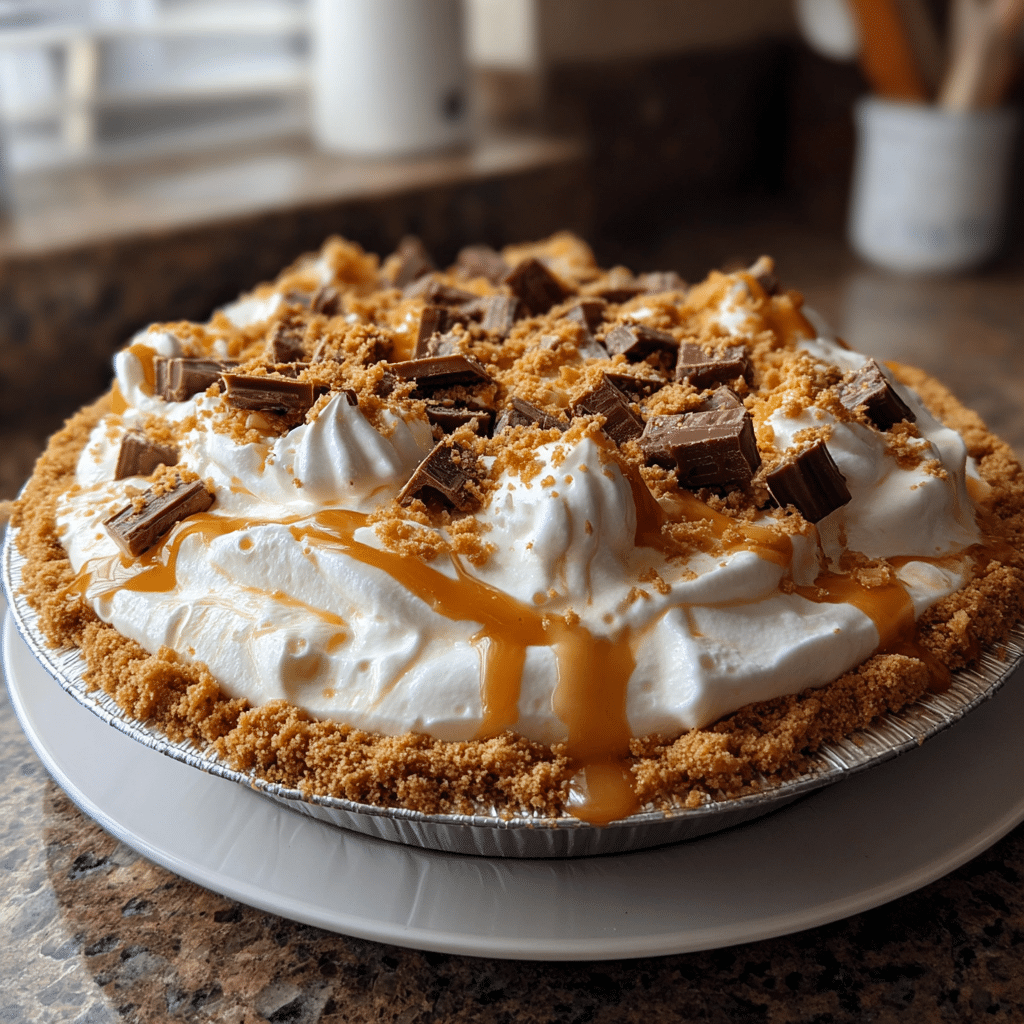
Butterfinger Pie is the kind of dessert that instantly wins over a crowd. It combines a creamy, peanut-buttery filling with the unmistakable crunch of Butterfinger candy bars, all nestled in a crisp cookie crust. This is a no-bake recipe, which makes it especially appealing when you want an impressive dessert without turning on the oven. I first made this pie for a casual family gathering, expecting it to be just another sweet treat, but it disappeared faster than any baked dessert on the table. The contrast between the smooth, fluffy filling and the crunchy candy pieces is what truly sets it apart. It is rich without being overwhelming, sweet but balanced, and incredibly easy to prepare. Whether you are planning a holiday dessert, a potluck contribution, or simply craving something indulgent, Butterfinger Pie delivers big flavor with minimal effort.
Print
Butterfinger Pie (Easy No-Bake Dessert with Crunchy Candy Bliss)
- Total Time: 15 minutes (plus chilling time)
- Yield: 8 slices
- Diet: Vegetarian
Description
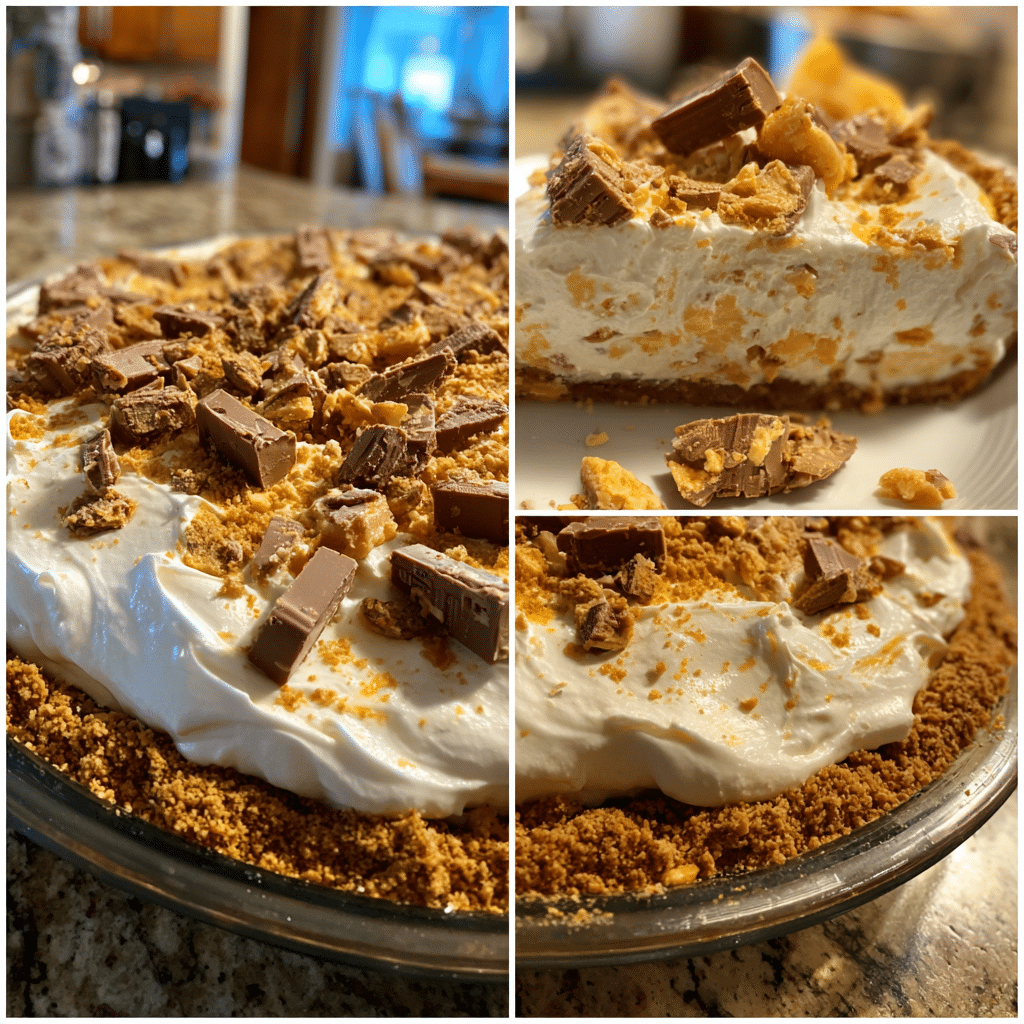
A no-bake Butterfinger pie made with a creamy peanut butter filling, crushed Butterfinger candy bars, and a chocolate cookie crust—rich, indulgent, and perfect for any occasion.
Ingredients
- 1 pre-made chocolate cookie pie crust (9-inch)
- 8 oz cream cheese, softened
- 1 cup creamy peanut butter
- 1 cup powdered sugar
- 1 tsp vanilla extract
- 8 oz whipped topping (Cool Whip), thawed
- 5 Butterfinger candy bars (regular size), crushed
- Chocolate syrup for topping (optional)
Instructions
- In a large bowl, beat cream cheese until smooth.
- Add peanut butter, powdered sugar, and vanilla extract; mix until fully combined and creamy.
- Gently fold in whipped topping until light and fluffy.
- Stir in about 3/4 of the crushed Butterfinger candy bars.
- Spread the filling evenly into the chocolate cookie crust.
- Sprinkle remaining crushed Butterfingers over the top.
- Drizzle with chocolate syrup if desired.
- Refrigerate for at least 4 hours or until firm before slicing and serving.
Notes
- Chill overnight for best texture.
- Use a homemade Oreo crust for extra chocolate flavor.
- For easier slicing, freeze for 30 minutes before serving.
- Store leftovers covered in the refrigerator.
- Prep Time: 15 minutes
- Cook Time: 0 minutes
- Category: Dessert
- Method: No-Bake
- Cuisine: American
Why You’ll Love This Recipe
This Butterfinger Pie is quick to assemble, requires no baking, and uses simple ingredients. It has a creamy texture, a satisfying crunch, and a flavor profile that appeals to both kids and adults. It also sets beautifully, slices cleanly, and can be made ahead of time.
Ingredients
(Tip: You can find the complete list of ingredients and their measurements in the recipe card below.)
Chocolate cookie crust
A chocolate cookie crust provides a firm base and adds a deep cocoa flavor that pairs perfectly with the sweet filling.
Cream cheese
Cream cheese creates a rich, slightly tangy foundation for the pie filling and helps it set properly.
Creamy peanut butter
Peanut butter adds flavor and body, complementing the Butterfinger candy and enhancing the overall creaminess.
Powdered sugar
Powdered sugar sweetens the filling while keeping the texture smooth and lump-free.
Vanilla extract
Vanilla extract enhances the sweetness and rounds out the flavors in the filling.
Whipped topping
Whipped topping lightens the filling, giving the pie its airy, mousse-like texture.
Butterfinger candy bars
Butterfinger candy bars provide the signature crunch and bold peanut-butter candy flavor throughout the pie.
Chocolate syrup
Chocolate syrup adds a decorative finish and extra richness when drizzled over the top.
Directions
Begin by placing the cream cheese in a large mixing bowl and allowing it to soften fully. Beat the cream cheese until smooth and free of lumps. Add the peanut butter, powdered sugar, and vanilla extract, and mix until well combined and creamy.
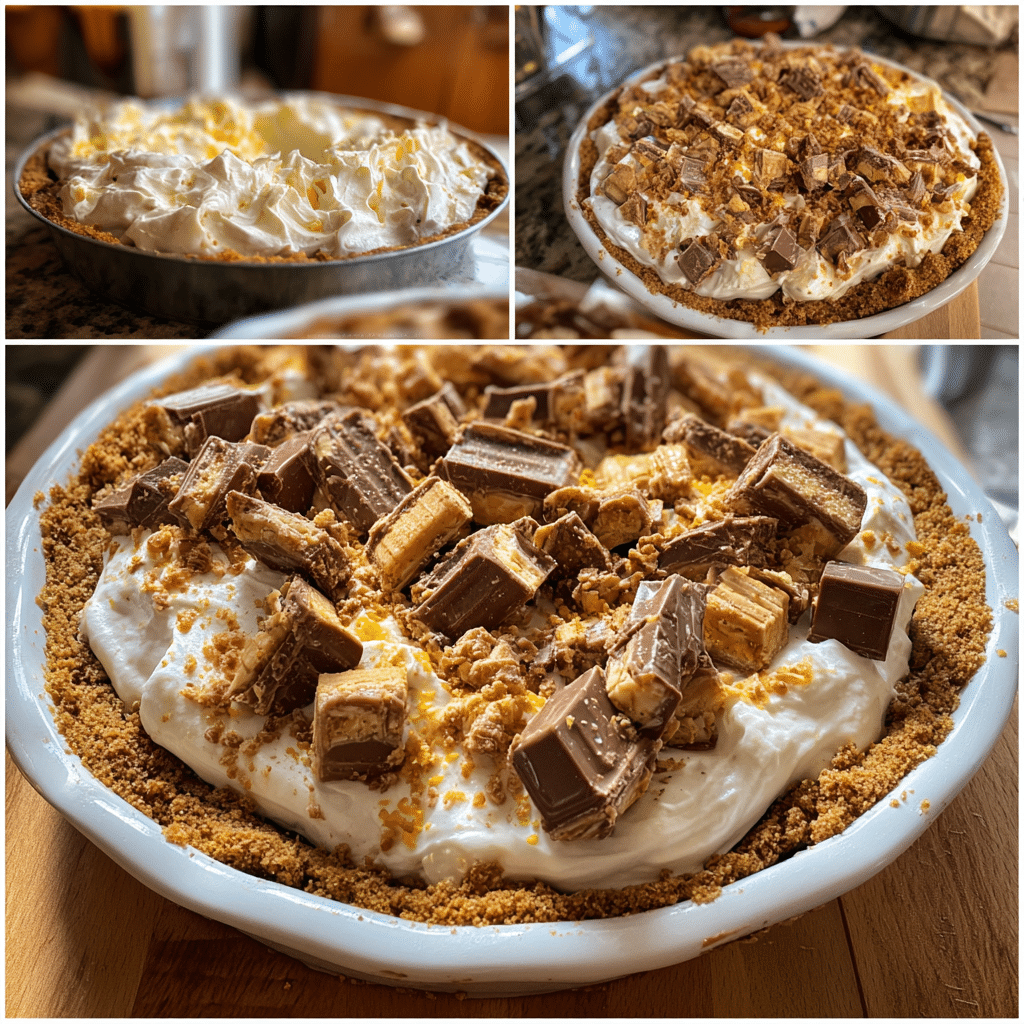
Gently fold in the whipped topping using a spatula, taking care not to deflate the mixture. Once fully incorporated, stir in most of the chopped Butterfinger candy bars, reserving a small portion for topping.
Spoon the filling into the prepared chocolate cookie crust and smooth the top evenly. Sprinkle the reserved Butterfinger pieces over the surface and drizzle with chocolate syrup if desired.
Refrigerate the pie for at least 4 hours, or until fully set. For best results, chill overnight. Slice and serve chilled.
Equipment needed :
Must-Have Tools to Get Rolling
Here’s what you’ll want to have on hand:
Silicone Spatula – Durable, heat-resistant silicone spatula perfect for mixing, scraping, and spreading. Gentle on non-stick cookware and easy to clean.
Large pot – You’ll need this to boil the whole cabbage head and soften the leaves.
large bowl –Spacious, durable large bowl ideal for mixing, serving, or food preparation. Made from sturdy material and easy to clean.
Sharp knife – For coring the cabbage and slicing out the thick stem in each leaf. A paring knife works best.
Mixing bowl – A big bowl makes it easier to combine your meat and rice filling evenly.
Cutting board – For prepping cabbage leaves and rolling them like a pro.
Full-Size Blender – is a powerful kitchen appliance for making smoothies, soups, and sauces in large batches.
3-in-1 Air Fryer – This versatile 3-in-1 air fryer offers Air Fry for healthier meals with less oil, Bake for bakery-quality desserts and treats, and Reheat to bring leftovers back to life with crispy, flavorful results.
Servings and timing
This recipe yields one 9-inch pie, serving approximately 8 slices. Preparation time is about 20 minutes, with a chilling time of at least 4 hours.
Variations and Customizations
Butterfinger Pie is easy to customize depending on your preferences. For a stronger chocolate presence, you can add mini chocolate chips to the filling or use a brownie-style crust instead of a cookie crust. If you prefer a lighter peanut butter flavor, reduce the peanut butter slightly and increase the whipped topping.
For a frozen version, place the assembled pie in the freezer for 2 to 3 hours and serve it semi-frozen for an ice-cream-like texture. You can also substitute the Butterfinger candy with other peanut butter candies for a different twist, though the classic flavor is hard to beat.
If you want a more decorative finish, top the pie with whipped cream rosettes and additional crushed candy just before serving.
Nutrition and Dietary Info
The following nutrition information is approximate and based on one slice.
| Nutrient | Amount per serving |
|---|---|
| Calories | 390 kcal |
| Protein | 6 g |
| Carbs | 36 g |
| Fat | 26 g |
| Saturated fat | 11 g |
| Fiber | 2 g |
| Sugar | 28 g |
| Sodium | 320 mg |
Expert Tips & Customizations
Use softened cream cheese
This ensures a smooth, lump-free filling.
Fold gently
Mix the whipped topping carefully to maintain a light texture.
Chill thoroughly
Proper chilling helps the pie set cleanly for slicing.
Reserve topping
Keeping some candy pieces for the top improves presentation.
Serve cold
The pie tastes best well chilled.
Storage/reheating
Store Butterfinger Pie covered in the refrigerator for up to five days. For longer storage, freeze for up to one month and thaw in the refrigerator before serving. Reheating is not recommended.
FAQs
Can I make this pie ahead of time?
Yes, it is ideal for making a day in advance.
Does this pie need to be baked?
No, this is a completely no-bake dessert.
Can I use homemade whipped cream?
Yes, stabilized whipped cream works well.
Can I freeze Butterfinger Pie?
Yes, it freezes very well.
Can I use crunchy peanut butter?
Creamy peanut butter is recommended for best texture.
Why is my pie too soft?
It likely needs more chilling time.
Can I make this in a tart pan?
Yes, but ensure the crust is firm.
Conclusion
Butterfinger Pie is an easy, crowd-pleasing dessert that delivers rich flavor, creamy texture, and irresistible crunch. With no baking required and endless customization options, it is a reliable choice for gatherings, celebrations, or anytime you want a decadent dessert with minimal effort.
Hungry for more? Visit our website for full recipes and follow us on Pinterest for daily foodie inspo you’ll love to pin!