
Introduction
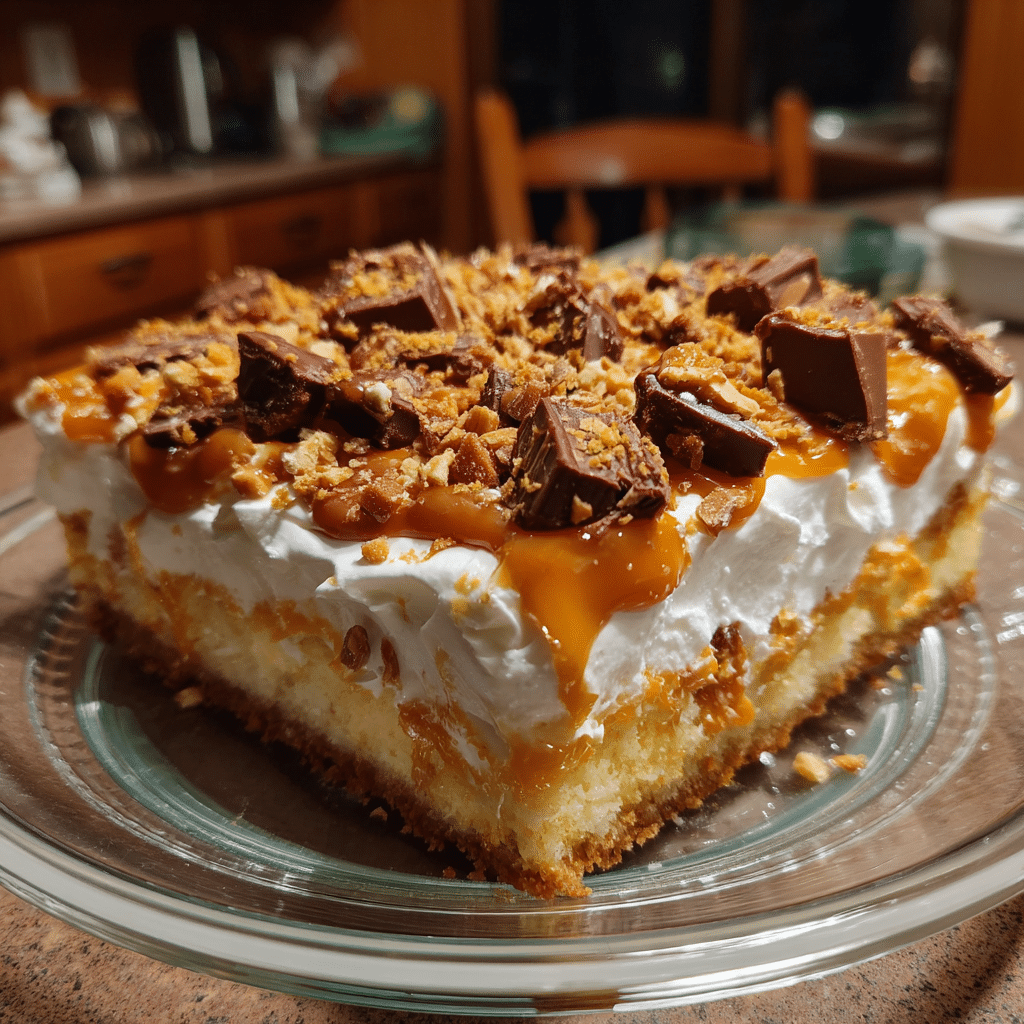
Butterfinger Poke Cake is the ultimate dessert for anyone who loves rich chocolate cake paired with creamy layers and irresistible candy crunch. This indulgent cake starts with a moist chocolate base that is poked and filled with sweet, creamy goodness, then finished with whipped topping and generous pieces of Butterfinger candy bars. I like to make this cake when I want a guaranteed crowd-pleaser that requires minimal effort but delivers maximum impact. Every bite offers a perfect balance of soft cake, creamy filling, and crunchy candy texture. What makes this dessert especially appealing is how easy it is to prepare ahead of time, making it ideal for parties, potlucks, birthdays, or holidays. Butterfinger Poke Cake is nostalgic, fun, and unapologetically indulgent, the kind of dessert that disappears quickly and has everyone asking for the recipe.
Print
Butterfinger Poke Cake – Rich, Creamy, and Loaded with Crunch
- Total Time: 40 mins + chilling
- Yield: 12–16 servings
- Diet: Vegetarian
Description
Butterfinger Poke Cake is a rich and indulgent dessert made with a moist chocolate cake soaked in caramel sauce and topped with whipped cream and crushed Butterfinger candy bars.
Ingredients
- 1 box chocolate cake mix (plus ingredients on box)
- 1 can (14 oz) sweetened condensed milk
- 1 cup caramel sauce
- 1 tub (8 oz) whipped topping, thawed
- 4–5 Butterfinger candy bars, crushed
Instructions
- Bake the chocolate cake according to package instructions in a 9×13-inch pan.
- While warm, poke holes all over the cake using the handle of a wooden spoon.
- In a bowl, mix sweetened condensed milk and caramel sauce.
- Pour caramel mixture evenly over the cake, allowing it to soak into the holes.
- Let cake cool completely, then spread whipped topping over the surface.
- Sprinkle crushed Butterfinger bars generously over the top.
- Chill for at least 1 hour before serving for best texture.
Notes
- Use homemade whipped cream for a richer topping.
- Try with yellow cake or peanut butter cake for variations.
- Freeze for 20 minutes before slicing for cleaner cuts.
- Prep Time: 10 mins
- Cook Time: 30 mins
- Category: Dessert
- Method: Baked
- Cuisine: American
Why You’ll Love This Recipe
This recipe is simple, decadent, and perfect for feeding a crowd. It uses easy ingredients, comes together quickly, and delivers layers of flavor and texture in every bite.
Ingredients
(Tip: You can find the complete list of ingredients and their measurements in the recipe card below.)
Chocolate cake mix
Chocolate cake mix creates a moist, reliable base with deep cocoa flavor.
Eggs
Eggs help bind the cake and provide structure.
Vegetable oil
Oil keeps the cake soft and moist.
Water or milk
Liquid helps form the batter and can be adjusted for richness.
Sweetened condensed milk
Sweetened condensed milk soaks into the cake, creating a rich, creamy filling.
Caramel sauce
Caramel sauce adds sweetness and pairs perfectly with chocolate and Butterfinger.
Whipped topping
Whipped topping creates a light, creamy layer on top.
Butterfinger candy bars
Butterfinger adds signature crunch and peanut butter flavor.
Chocolate syrup
Chocolate syrup adds extra richness and visual appeal.
Directions
Begin by preparing the chocolate cake according to package instructions using eggs, oil, and water or milk. Bake the cake in a prepared baking dish until fully set.
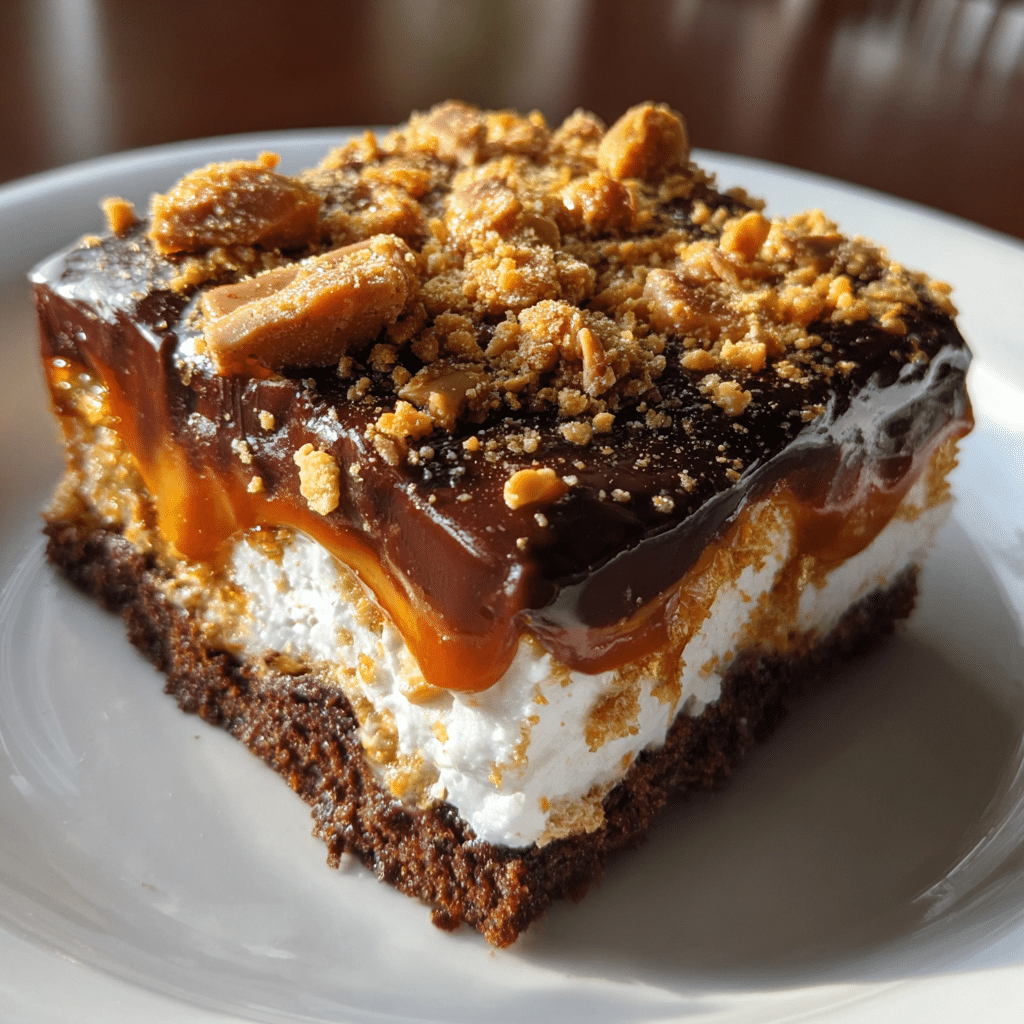
While the cake is still warm, use the handle of a wooden spoon to poke holes evenly across the surface. Slowly pour the sweetened condensed milk over the cake, allowing it to seep into the holes. Drizzle caramel sauce evenly over the top.
Allow the cake to cool completely. Once cooled, spread whipped topping evenly across the surface. Sprinkle crushed Butterfinger candy bars generously over the top and finish with a drizzle of chocolate syrup if desired.
Refrigerate the cake for at least one hour before serving to allow the flavors to set.
Equipment needed :
Must-Have Tools to Get Rolling
Here’s what you’ll want to have on hand:
Silicone Spatula – Durable, heat-resistant silicone spatula perfect for mixing, scraping, and spreading. Gentle on non-stick cookware and easy to clean.
Large pot – You’ll need this to boil the whole cabbage head and soften the leaves.
large bowl –Spacious, durable large bowl ideal for mixing, serving, or food preparation. Made from sturdy material and easy to clean.
Sharp knife – For coring the cabbage and slicing out the thick stem in each leaf. A paring knife works best.
Mixing bowl – A big bowl makes it easier to combine your meat and rice filling evenly.
Cutting board – For prepping cabbage leaves and rolling them like a pro.
Full-Size Blender – is a powerful kitchen appliance for making smoothies, soups, and sauces in large batches.
3-in-1 Air Fryer – This versatile 3-in-1 air fryer offers Air Fry for healthier meals with less oil, Bake for bakery-quality desserts and treats, and Reheat to bring leftovers back to life with crispy, flavorful results.
Servings and timing
This recipe serves approximately 12 people. Preparation time is about 10 minutes, baking time is around 30 minutes, with at least 1 hour of chilling time.
Storage/reheating
Store Butterfinger Poke Cake covered in the refrigerator for up to 4 days. This cake is served chilled and does not require reheating.
Variations and Customizations
Butterfinger Poke Cake is easy to customize. You can use vanilla or peanut butter cake mix instead of chocolate for a different base. Swap caramel sauce for chocolate fudge sauce for extra chocolate intensity. Add chopped peanuts for more crunch or mix crushed Butterfinger into the whipped topping for even distribution. This recipe also works well as individual servings made in cups for parties.
Nutrition and Dietary Info
This dessert contains dairy, eggs, gluten, and peanuts. It is vegetarian-friendly but not suitable for nut-free diets. Nutritional values vary depending on portion size and ingredient brands.
Expert Tips & Customizations
Poke While Warm
Warm cake absorbs the filling best.
Crush Candy Just Before Topping
This keeps it crunchy.
Chill Before Serving
Chilling improves texture and flavor.
FAQs
What is a poke cake?
A cake poked with holes and filled with sauce or cream.
Can I make this ahead of time?
Yes, it is best made in advance.
Can I freeze poke cake?
Freezing is not recommended due to texture.
What size pan works best?
A standard rectangular baking dish works well.
Can I use homemade cake?
Yes, homemade chocolate cake works too.
Is this dessert very sweet?
It is rich and indulgent but balanced by chocolate.
Can I add extra candy?
Yes, add more Butterfinger if desired.
Does it need refrigeration?
Yes, due to the creamy layers.
Can kids enjoy this?
Yes, it is very popular with kids.
Can I double the recipe?
Yes, use a larger pan.
Conclusion
Butterfinger Poke Cake is a rich, fun, and indulgent dessert that combines moist chocolate cake, creamy filling, and crunchy candy in every bite. Easy to prepare and impossible to resist, this recipe is perfect for celebrations, gatherings, or anytime you want a nostalgic, crowd-pleasing treat.
Hungry for more? Visit our website for full recipes and follow us on Pinterest for daily foodie inspo you’ll love to pin!