
Why You’ll Love This Recipe
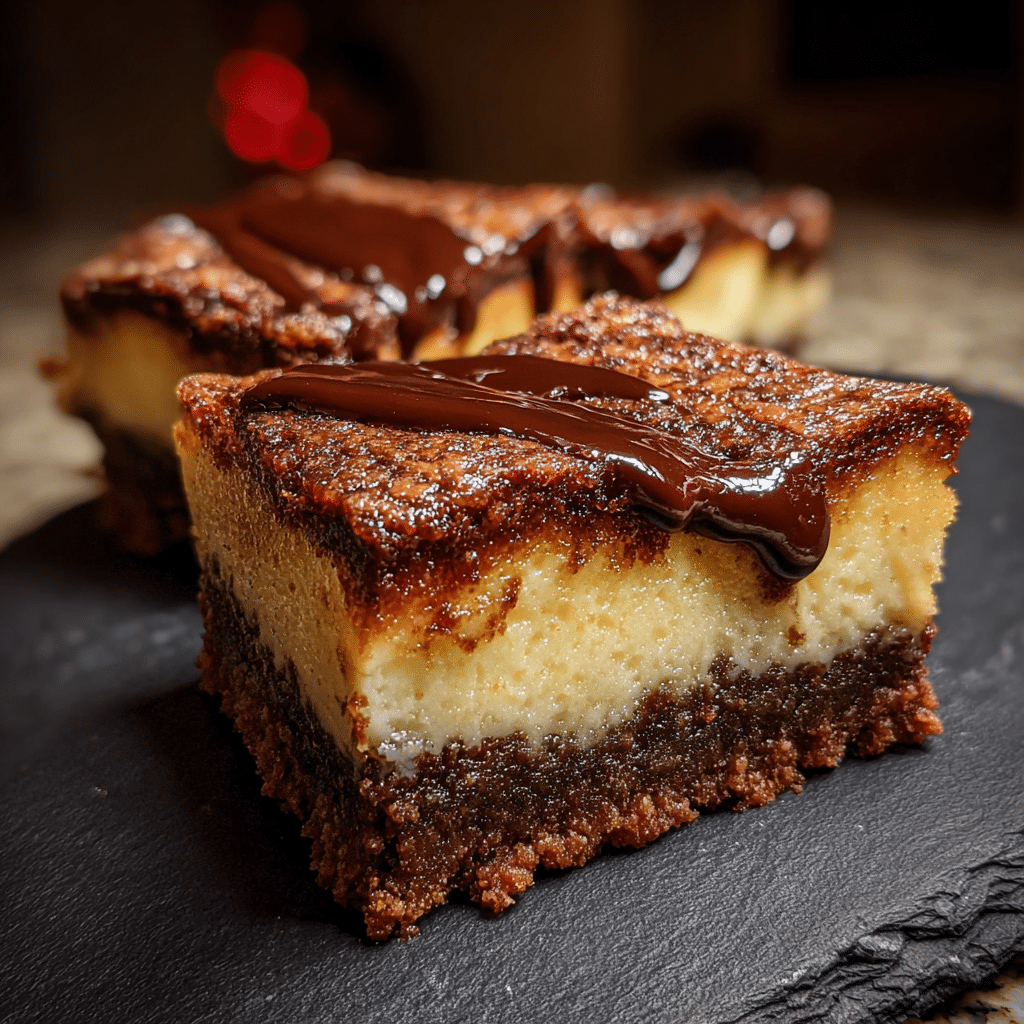
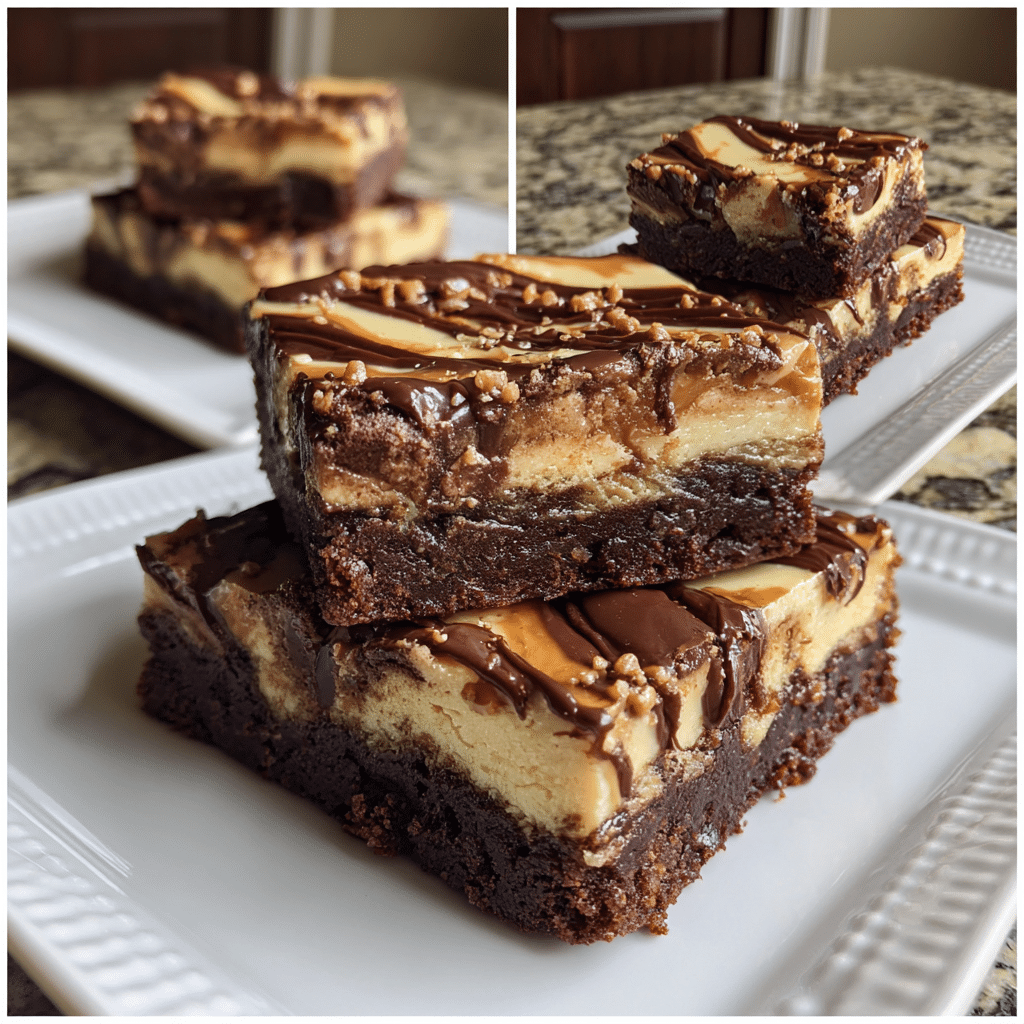
Cheesecake Brownies bring together two classic desserts in one irresistible bake. You get the deep, chocolatey richness of a fudgy brownie paired with a smooth, tangy cheesecake swirl that melts into every bite. This is the kind of dessert that feels indulgent without being complicated, making it ideal for both casual baking days and special occasions.
What makes this recipe particularly satisfying is the balance of textures. The brownie layer stays dense and moist, while the cheesecake layer adds lightness and contrast. I tested this recipe using both dark chocolate and cocoa powder, and while both worked, cocoa powder delivered a more traditional brownie flavor that pairs beautifully with the cheesecake. These brownies slice cleanly, store well, and always draw compliments. Whether you are baking for guests or simply treating yourself, this is a dependable recipe that delivers bakery-style results at home.

Cheesecake Brownies: Rich, Fudgy, and Perfectly Swirled
- Total Time: 45 mins
- Yield: 9–12 brownies
- Diet: Vegetarian
Description
Cheesecake Brownies combine rich, fudgy chocolate brownies with a creamy swirled cheesecake layer, creating a decadent dessert that’s both smooth and indulgent.
Ingredients
-
- Brownie Layer:
- 1/2 cup unsalted butter, melted
- 1 cup granulated sugar
- 2 large eggs
- 1 tsp vanilla extract
- 1/3 cup cocoa powder
- 1/2 cup all-purpose flour
- 1/4 tsp salt
- 1/2 cup chocolate chips (optional)
- Cheesecake Layer:
- 8 oz cream cheese, softened
- 1/4 cup sugar
- 1 egg
- 1 tsp vanilla extract
Instructions
- Preheat oven to 350°F (175°C). Line an 8×8-inch baking pan with parchment paper.
- For brownies: Whisk melted butter and sugar together. Add eggs and vanilla until smooth.
- Mix in cocoa powder, flour, and salt. Fold in chocolate chips if using. Spread batter in pan.
- For cheesecake layer: Beat cream cheese, sugar, egg, and vanilla until smooth.
- Spoon cream cheese mixture over brownie batter and swirl with a knife.
- Bake 30–35 minutes or until edges are set and center is slightly fudgy.
- Cool completely before slicing for clean layers.
Notes
- Chill for 1 hour before cutting to enhance texture.
- Add raspberry jam swirls for a fruity twist.
- Use dark cocoa for an extra-rich brownie.
- Prep Time: 10 mins
- Cook Time: 35 mins
- Category: Dessert
- Method: Baked
- Cuisine: American
Ingredients
(Tip: You can find the complete list of ingredients and their measurements in the recipe card below.)
Butter forms the foundation of the brownie batter, providing richness and ensuring a moist, fudgy texture once baked.
Granulated sugar sweetens the batter and contributes to the brownies’ slightly crisp top.
Eggs act as a binding agent and help create structure while keeping the interior soft.
Unsweetened cocoa powder delivers deep chocolate flavor without making the brownies overly sweet.
All-purpose flour provides just enough structure to hold the brownies together while keeping them dense.
Cream cheese is the star of the cheesecake layer, offering a smooth, tangy contrast to the rich chocolate base.
Powdered sugar sweetens the cheesecake mixture while maintaining a silky texture.
Vanilla extract enhances both the brownie and cheesecake layers, rounding out the flavors.
A pinch of salt balances the sweetness and intensifies the chocolate notes.
Directions
Preheat your oven to 175°C (350°F) and line a square baking pan with parchment paper, leaving an overhang for easy removal.
In a saucepan or microwave-safe bowl, melt the butter and allow it to cool slightly. Stir in the granulated sugar, followed by the eggs and vanilla extract, mixing until smooth.
Sift in the cocoa powder, flour, and salt, folding gently until just combined. Avoid overmixing, as this can affect the final texture.
In a separate bowl, beat the cream cheese until smooth, then mix in the powdered sugar and vanilla extract until creamy.
Pour most of the brownie batter into the prepared pan, reserving a small portion. Spread the cheesecake mixture evenly over the brownie layer, then dollop the remaining brownie batter on top. Use a knife to gently swirl the layers together.
Bake for 30 to 35 minutes, or until the edges are set and the center still has a slight wobble. Allow the brownies to cool completely before slicing.
Equipment needed :
Must-Have Tools to Get Rolling
Here’s what you’ll want to have on hand:
Silicone Spatula – Durable, heat-resistant silicone spatula perfect for mixing, scraping, and spreading. Gentle on non-stick cookware and easy to clean.
Large pot – You’ll need this to boil the whole cabbage head and soften the leaves.
large bowl –Spacious, durable large bowl ideal for mixing, serving, or food preparation. Made from sturdy material and easy to clean.
Sharp knife – For coring the cabbage and slicing out the thick stem in each leaf. A paring knife works best.
Mixing bowl – A big bowl makes it easier to combine your meat and rice filling evenly.
Cutting board – For prepping cabbage leaves and rolling them like a pro.
Full-Size Blender – is a powerful kitchen appliance for making smoothies, soups, and sauces in large batches.
3-in-1 Air Fryer – This versatile 3-in-1 air fryer offers Air Fry for healthier meals with less oil, Bake for bakery-quality desserts and treats, and Reheat to bring leftovers back to life with crispy, flavorful results.
Servings and timing
This recipe yields approximately nine to twelve brownies, depending on how large you cut them. Preparation takes about 15 minutes, with a baking time of 30 to 35 minutes. Allow additional time for cooling before serving.
Storage/reheating
Store Cheesecake Brownies in an airtight container in the refrigerator for up to four days. For a softer texture, allow them to come to room temperature before serving. Reheating is not necessary, but a few seconds in the microwave can enhance the fudgy texture.
Variations and Customizations
These brownies are highly adaptable. For a more intense chocolate flavor, add chocolate chips to the brownie batter. If you enjoy a stronger cheesecake presence, increase the cream cheese layer slightly.
You can also experiment with flavor additions. A swirl of raspberry jam adds a fruity contrast, while a sprinkle of espresso powder deepens the chocolate notes.
For a festive touch, incorporate orange zest or peppermint extract into the cheesecake layer. Gluten-free flour blends can be substituted successfully, provided they are designed for baking. Each variation keeps the core recipe intact while allowing room for creativity.
FAQs
Can I use boxed brownie mix?
Yes, but homemade batter provides better flavor and texture.
How do I know when the brownies are done?
The edges should be set, and the center should be slightly soft.
Can I freeze Cheesecake Brownies?
Yes, wrap them tightly and freeze for up to two months.
Why did my brownies crack?
Minor cracking is normal and does not affect taste.
Can I use low-fat cream cheese?
Full-fat cream cheese is recommended for best texture.
Should these brownies be refrigerated?
Yes, refrigeration helps maintain the cheesecake layer.
Can I double the recipe?
Yes, use a larger pan and adjust baking time accordingly.
How do I get clean slices?
Chill the brownies and wipe the knife between cuts.
Can I add nuts?
Yes, chopped walnuts or pecans work well.
Are these brownies overly sweet?
No, the cheesecake layer balances the chocolate richness.
Conclusion
Cheesecake Brownies are a timeless dessert that combines the best of both worlds: rich chocolate brownies and creamy cheesecake. With simple ingredients and reliable results, this recipe is ideal for home bakers looking to impress without unnecessary complexity. Once you make them, they are sure to become a regular favorite in your baking repertoire.
Hungry for more? Visit our website for full recipes and follow us on Pinterest for daily foodie inspo you’ll love to pin!