
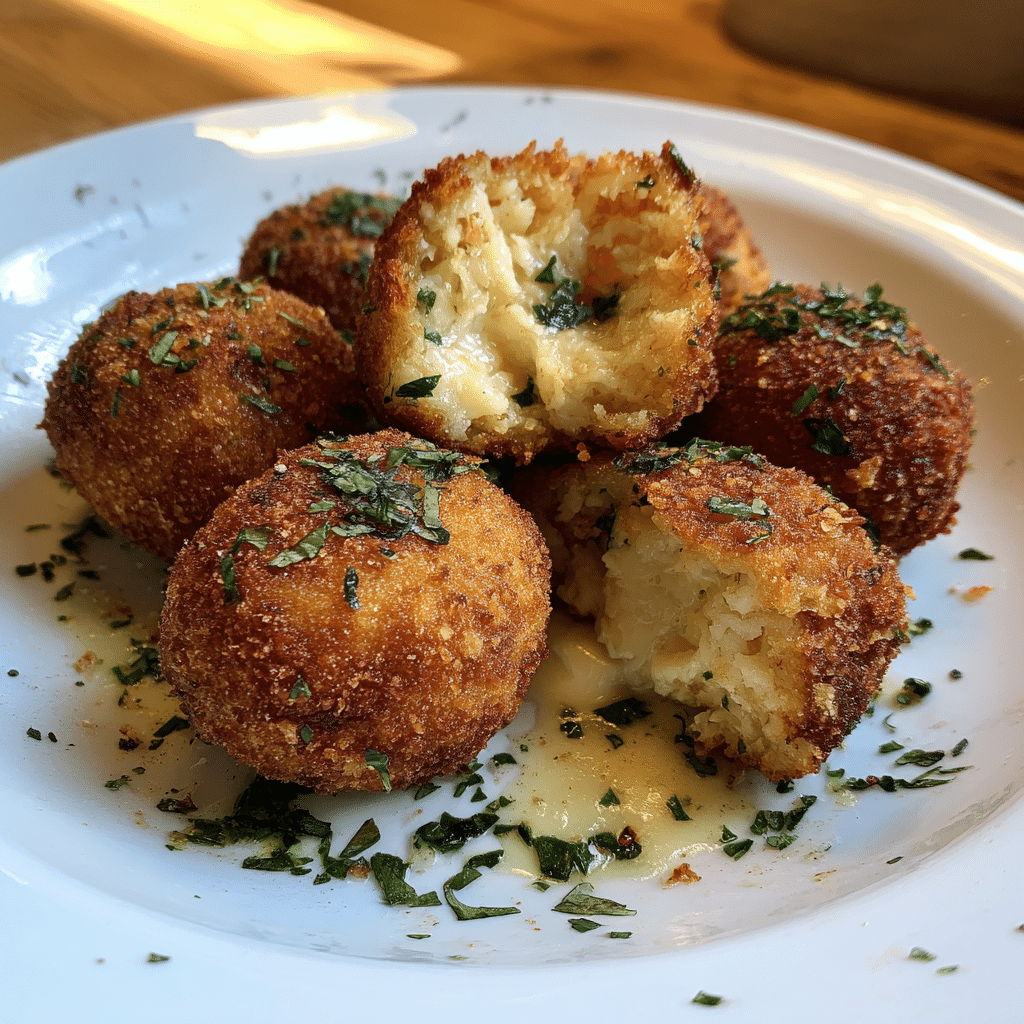
Italian Arancini Balls are one of those irresistible dishes that combine comfort and elegance in every bite. These golden, crispy rice balls are traditionally filled with cheese, meat sauce, or vegetables, then coated in breadcrumbs and fried to perfection. The contrast between the crunchy exterior and the creamy, flavorful interior is what makes arancini truly special.
Why You’ll Love This Recipe
Italian Arancini Balls offer a wonderful balance of texture and flavor. The crispy breadcrumb coating contrasts beautifully with the creamy risotto center.
They are also highly versatile. You can customize the filling based on your preference, from classic meat ragù to simple cheese or even spinach. They make an excellent appetizer for gatherings and can be prepared in advance before frying.
Another reason to love this recipe is its ability to transform leftover risotto into something entirely new and exciting. With simple ingredients and a bit of patience, you can create a restaurant-quality dish at home.
Italian Arancini Balls: Crispy on the Outside, Creamy on the Inside
- Total Time: 35 minutes
- Yield: 12 arancini
- Diet: Vegetarian
Description
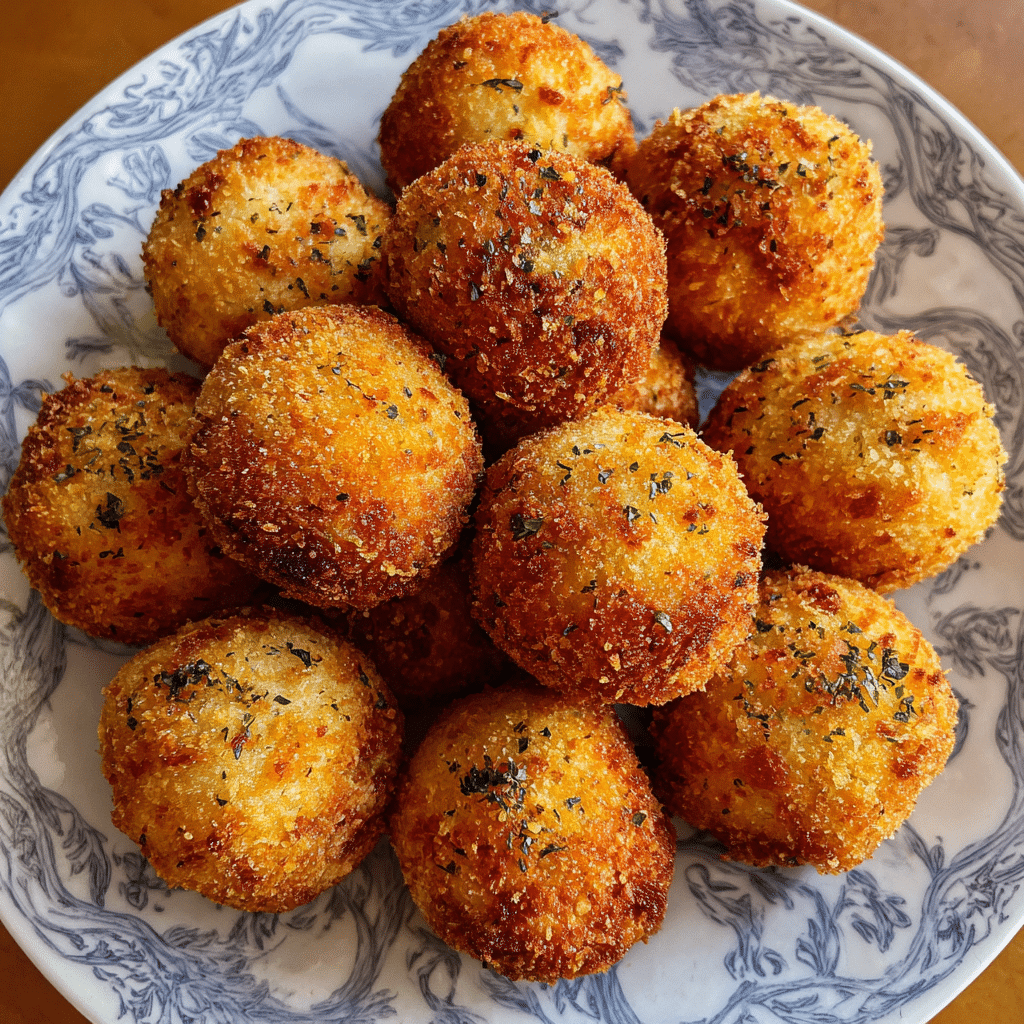
Crispy golden Italian Arancini balls made with seasoned risotto rice, stuffed with gooey mozzarella, coated in breadcrumbs, and fried to perfection. A classic Sicilian appetizer with a crunchy exterior and creamy center.
Ingredients
- 3 cups cooked risotto or Arborio rice (cooled)
- 1/2 cup grated Parmesan cheese
- 2 large eggs
- 1 cup mozzarella cheese cubes
- 1/2 cup all-purpose flour
- 2 eggs, beaten (for coating)
- 1 1/2 cups breadcrumbs
- 1/2 tsp salt
- 1/2 tsp black pepper
- Vegetable oil for frying
Instructions
- In a large bowl, mix cooled risotto with Parmesan cheese and eggs until well combined.
- Take about 2 tablespoons of rice mixture and flatten in your hand.
- Place a cube of mozzarella in the center and shape into a ball, sealing well.
- Roll each ball in flour, dip into beaten eggs, then coat with breadcrumbs.
- Heat vegetable oil in a deep pan to 350°F (175°C).
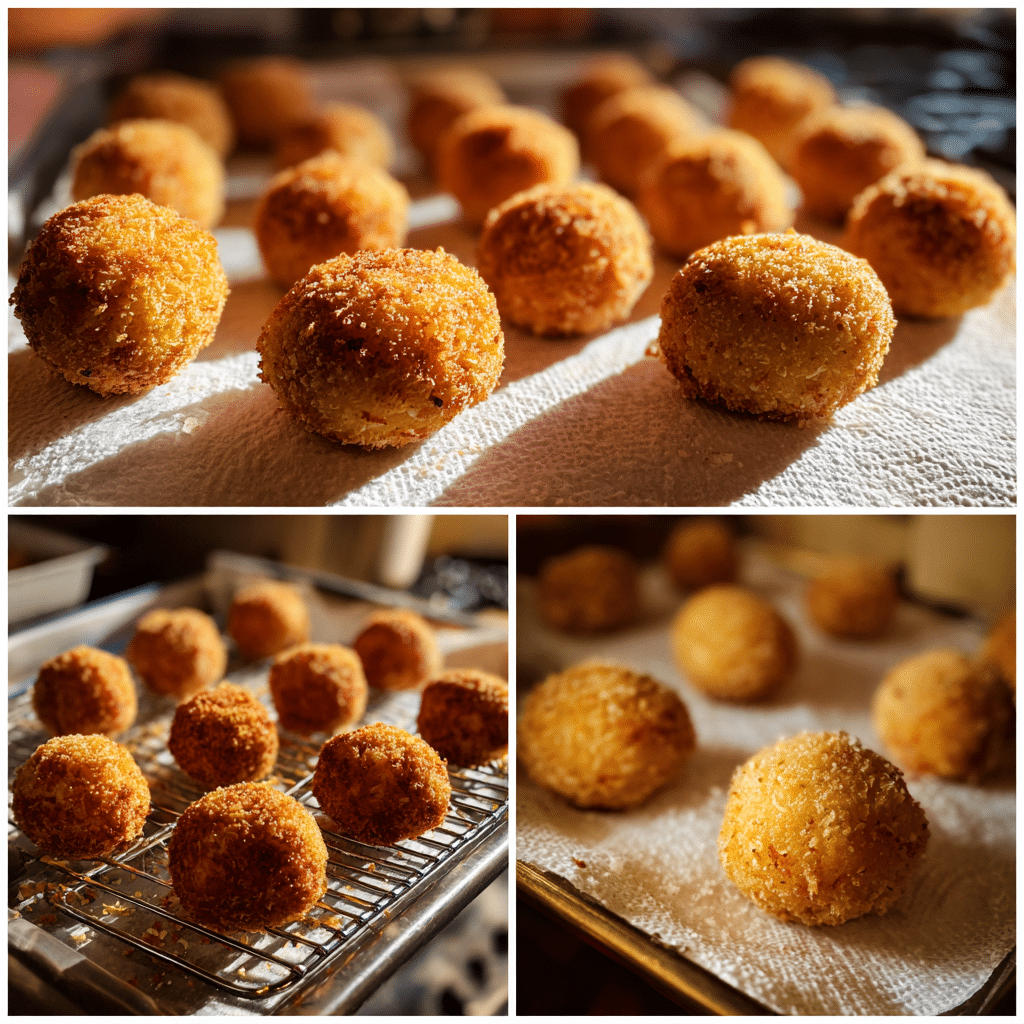
- Fry arancini in batches for 3-4 minutes until golden brown and crispy.
- Remove with a slotted spoon and drain on paper towels.
- Serve warm with marinara sauce if desired.
Notes
- Use cold risotto to help the balls hold their shape.
- Ensure oil temperature stays consistent for even frying.
- Can be baked at 400°F (200°C) for 20-25 minutes as a lighter option.
- Add cooked ground beef or peas to the filling for variation.
- Prep Time: 20 minutes
- Cook Time: 15 minutes
- Category: Appetizer
- Method: Frying
- Cuisine: Italian
Ingredients
(Tip: You can find the complete list of ingredients and their measurements in the recipe card below.)
Cooked risotto rice
Forms the base of the arancini. Arborio rice works best due to its creamy texture.
Mozzarella cheese
Creates a melted, gooey center when fried.
Ground beef or Italian sausage (optional)
Adds a savory, hearty filling when mixed with tomato sauce.
Tomato sauce
Provides richness and flavor for meat-filled versions.
Parmesan cheese
Enhances the rice mixture with a salty, nutty flavor.
Eggs
Help bind the rice mixture and assist with coating.
All-purpose flour
Used for dredging before coating in breadcrumbs.
Breadcrumbs
Create the crisp outer layer.
Salt
Enhances overall flavor.
Black pepper
Adds mild heat and depth.
Fresh parsley (optional)
Adds freshness and color.
Vegetable oil
Used for frying until golden and crisp.
Directions
If using a meat filling, cook ground beef or sausage in a skillet until browned. Stir in tomato sauce and simmer briefly. Allow to cool completely.
In a large bowl, combine the cooled risotto rice with grated Parmesan cheese, salt, pepper, and chopped parsley if using. Mix thoroughly.
Take a small portion of rice in your hand and flatten it slightly. Place a spoonful of meat filling or a cube of mozzarella in the center. Carefully shape the rice around the filling to form a compact ball. Repeat with remaining rice.
Prepare three shallow bowls: one with flour, one with beaten eggs, and one with breadcrumbs.
Roll each rice ball first in flour, then dip into beaten eggs, and finally coat thoroughly with breadcrumbs.
Heat vegetable oil in a deep pan to approximately 175°C (350°F). Fry the arancini in batches until golden brown, about 3–4 minutes per batch.
Remove with a slotted spoon and drain on paper towels. Serve warm.
Equipment needed :
Must-Have Tools to Get Rolling
Here’s what you’ll want to have on hand:
Silicone Spatula – Durable, heat-resistant silicone spatula perfect for mixing, scraping, and spreading. Gentle on non-stick cookware and easy to clean.
Large pot – You’ll need this to boil the whole cabbage head and soften the leaves.
large bowl –Spacious, durable large bowl ideal for mixing, serving, or food preparation. Made from sturdy material and easy to clean.
Sharp knife – For coring the cabbage and slicing out the thick stem in each leaf. A paring knife works best.
Mixing bowl – A big bowl makes it easier to combine your meat and rice filling evenly.
Cutting board – For prepping cabbage leaves and rolling them like a pro.
Full-Size Blender – is a powerful kitchen appliance for making smoothies, soups, and sauces in large batches.
3-in-1 Air Fryer – This versatile 3-in-1 air fryer offers Air Fry for healthier meals with less oil, Bake for bakery-quality desserts and treats, and Reheat to bring leftovers back to life with crispy, flavorful results.
Servings and timing
This recipe yields approximately 12 arancini balls.
Preparation time: 30 minutes
Cooking time: 15–20 minutes
Total time: About 50 minutes
Storage/reheating
Store leftover arancini in an airtight container in the refrigerator for up to three days.
Reheat in the oven at 180°C (350°F) for 10–12 minutes to restore crispness. Avoid microwaving, as it may soften the coating.
Arancini can be frozen before or after frying for up to two months. Thaw before reheating or fry directly from frozen, adding extra cooking time.
Variations and Customizations
Italian Arancini Balls are extremely versatile. For a vegetarian option, skip the meat and fill with mozzarella alone or combine spinach and ricotta for a creamy alternative.
You can also incorporate peas into the rice mixture for a traditional Sicilian touch. I have experimented with adding a small spoonful of pesto in the center, which introduced a fresh herbal flavor.
For a baked version, brush the coated rice balls lightly with oil and bake at 200°C (400°F) until golden. While slightly less crisp than fried, they remain delicious.
You may also try different cheeses such as provolone or fontina for varied flavor. If you prefer extra crunch, use panko breadcrumbs instead of traditional breadcrumbs.
For a spicier twist, add a pinch of red pepper flakes to the rice mixture or meat filling.
Nutrition and Dietary Info
Approximate values per arancini ball (based on 12 servings):
| Nutrient | Amount per Serving |
|---|---|
| Calories | 220 kcal |
| Protein | 8 g |
| Carbohydrates | 26 g |
| Fat | 9 g |
| Saturated Fat | 3 g |
| Fiber | 1 g |
| Sugar | 2 g |
| Sodium | 310 mg |
Values may vary depending on ingredient brands and portion sizes.
Expert Tips & Customizations
Cool the Rice
Cold risotto is easier to shape and holds together better.
Seal Tightly
Ensure the filling is completely enclosed to prevent leaks.
Maintain Oil Temperature
Consistent oil temperature ensures even browning.
Drain Properly
Allow excess oil to drain to maintain crispness.
FAQs
Can I use leftover rice instead of risotto?
Traditional arancini use risotto, but seasoned sticky rice can work in a pinch.
Can I bake instead of fry?
Yes, baking is a lighter alternative though slightly less crispy.
How do I prevent them from falling apart?
Ensure the rice mixture is well chilled and tightly packed.
What sauce pairs well with arancini?
Marinara sauce complements them beautifully.
Can I prepare them ahead of time?
Yes, shape and coat them in advance, then fry when ready to serve.
Are they served hot or cold?
They are best served warm for optimal texture and flavor.
Conclusion
Italian Arancini Balls are a delightful combination of crispy texture and creamy, flavorful filling. Whether served as an appetizer or a satisfying snack, they bring authentic comfort and elegance to any table. With endless customization options and simple preparation, this classic dish remains a timeless favorite.
Hungry for more? Visit our website for full recipes and follow us on Pinterest for daily foodie inspo you’ll love to pin!