
Introduction
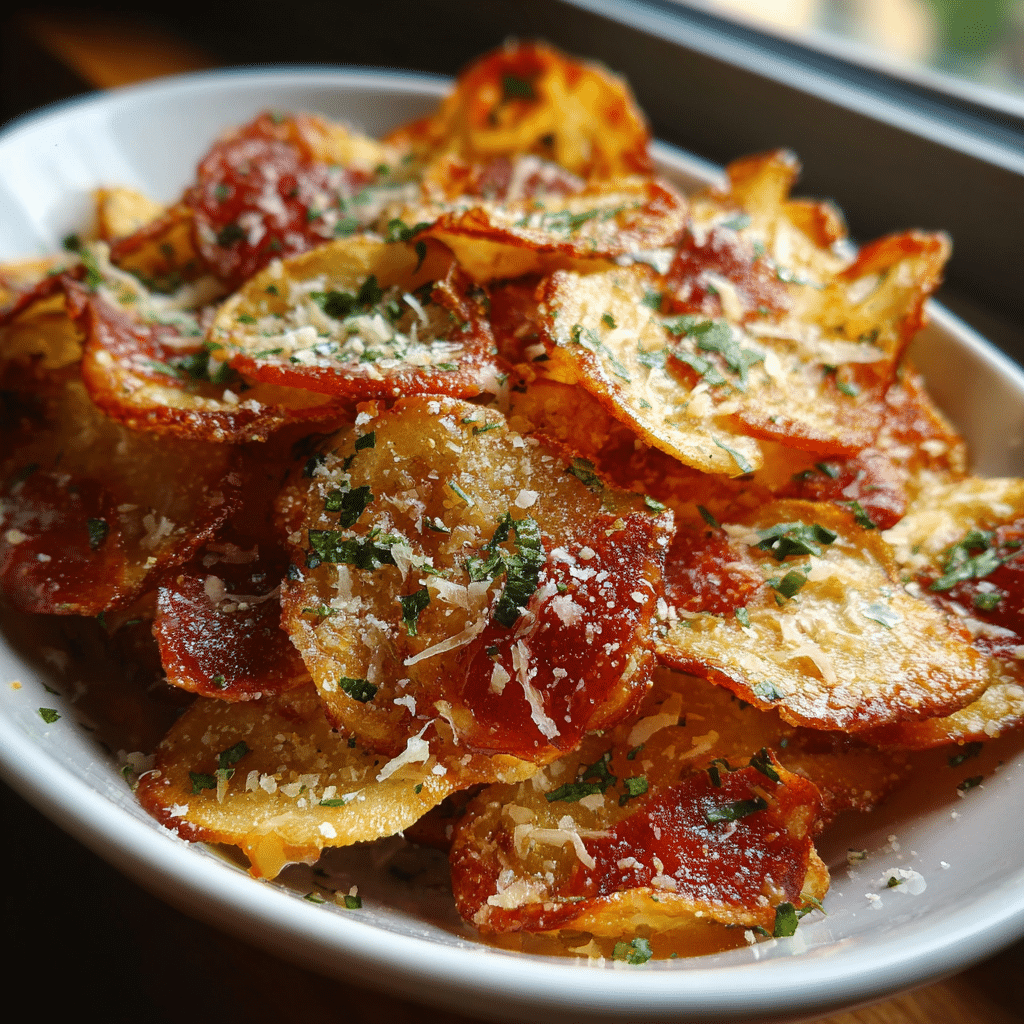
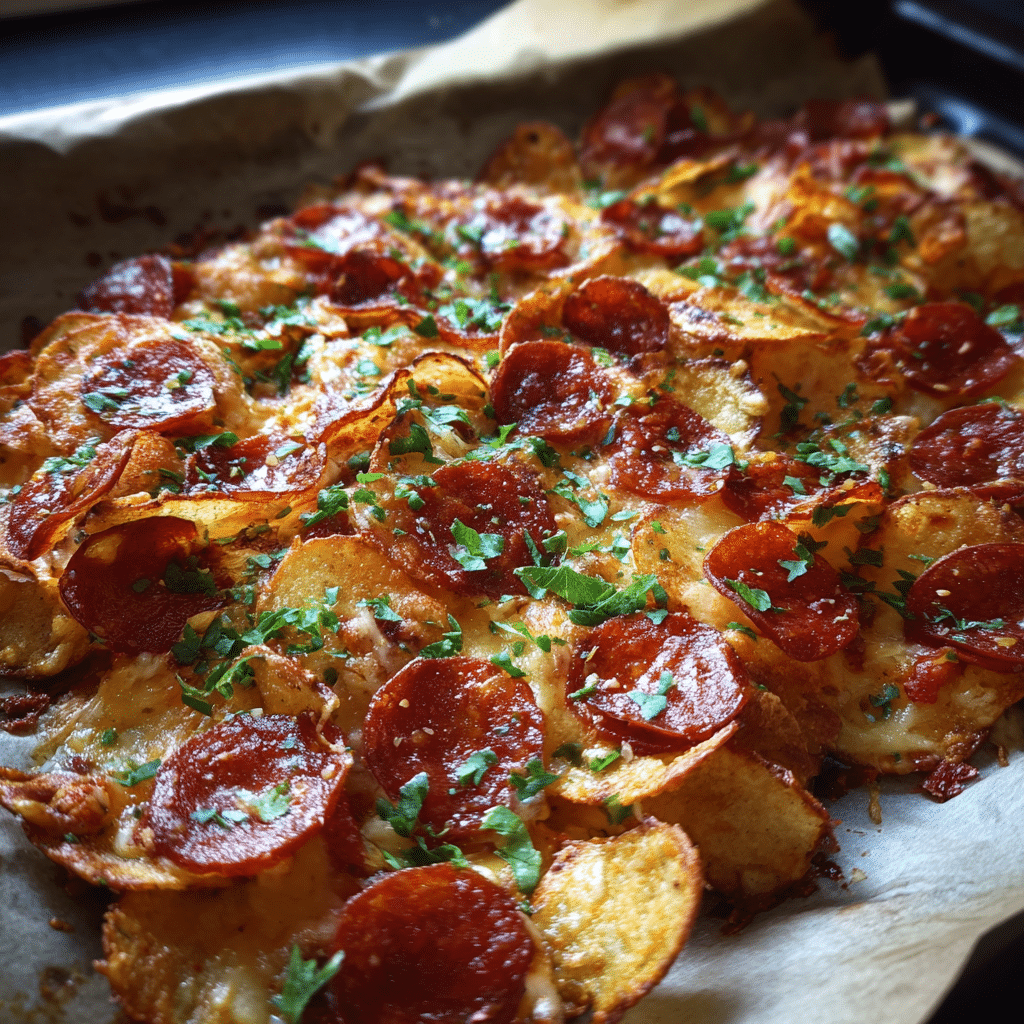
Pizza Chips are the ultimate solution when you are craving the bold flavors of pizza but want something quick, crunchy, and snackable. These crispy bites deliver everything people love about pizza—cheese, seasoning, and savory toppings—without the need for dough or lengthy preparation. I first made pizza chips as a last-minute snack for guests, and they disappeared faster than any traditional appetizer I had served before. What makes them especially appealing is their simplicity. With just a handful of ingredients and minimal cooking time, you can create a versatile snack that works for parties, movie nights, or even as a low-effort lunch side. They can be baked or air-fried, customized endlessly, and served with warm marinara for dipping. Pizza chips are proof that great flavor does not require complicated steps, and once you try them, they are likely to become a regular go-to recipe.
Print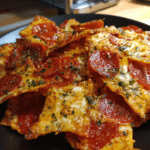
Pizza Chips Recipe (Crispy, Cheesy Snack in Minutes)
- Total Time: 15 minutes
- Yield: 4 servings
Description
Crispy pizza chips made with pepperoni, melted cheese, and Italian seasoning—an easy low-effort snack that delivers classic pizza flavor in bite-sized form.
Ingredients
- 1 cup shredded mozzarella cheese
- 1/2 cup mini pepperoni slices
- 1/4 cup grated Parmesan cheese
- 1/2 tsp Italian seasoning
- 1/4 tsp garlic powder
- Marinara sauce for dipping (optional)
Instructions
- Preheat oven to 375°F (190°C) and line a baking sheet with parchment paper.
- Place small mounds of mozzarella cheese on the baking sheet, spacing them apart.
- Top each mound with a few pepperoni slices.
- Sprinkle Parmesan cheese, Italian seasoning, and garlic powder over each pile.
- Bake for 7–10 minutes until cheese is melted and edges are golden and crisp.
- Remove from oven and let cool for 5 minutes to firm up.
- Serve warm or cooled with marinara sauce if desired.
Notes
- Let chips cool fully for maximum crispiness.
- Use a silicone mat for easier removal.
- Customize with olives, jalapeños, or cooked sausage.
- Best enjoyed fresh.
- Prep Time: 5 minutes
- Cook Time: 10 minutes
- Category: Snack
- Method: Baking
- Cuisine: Italian-American
Why You’ll Love This Recipe
Pizza chips are quick to prepare, highly customizable, and incredibly satisfying. They are crunchy, cheesy, and packed with classic pizza flavor. This recipe is beginner-friendly, requires minimal ingredients, and works perfectly as a snack or appetizer.
Ingredients
(Tip: You can find the complete list of ingredients and their measurements in the recipe card below.)
Pepperoni slices
Pepperoni slices form the crispy base of the chips. When baked, they become crunchy and intensely flavorful.
Mozzarella cheese
Mozzarella cheese melts smoothly and delivers that familiar pizza-style stretch and richness.
Parmesan cheese
Parmesan cheese adds sharpness and helps the chips crisp up nicely.
Italian seasoning
Italian seasoning brings classic pizza flavor with a blend of herbs that enhances the cheese and pepperoni.
Garlic powder
Garlic powder adds savory depth without overpowering the other flavors.
Marinara sauce
Marinara sauce is optional but highly recommended for dipping and added moisture.
Directions
Preheat your oven to 200°C (400°F) and line a baking tray with parchment paper.
Arrange the pepperoni slices in a single layer on the prepared tray, leaving a small space between each slice. Sprinkle mozzarella cheese evenly over each pepperoni slice, followed by a light dusting of parmesan cheese.
Season the chips with Italian seasoning and garlic powder. Be careful not to over-season, as the pepperoni already contains salt.
Bake for 8 to 10 minutes, or until the cheese is melted and bubbly and the edges are lightly golden. For extra crispiness, you can switch the oven to broil for the final 1 to 2 minutes, watching closely to prevent burning.
Remove from the oven and allow the pizza chips to cool on the tray for a few minutes. This resting time helps them firm up and become crisp. Serve warm with marinara sauce if desired.
Equipment needed :
Must-Have Tools to Get Rolling
Here’s what you’ll want to have on hand:
Silicone Spatula – Durable, heat-resistant silicone spatula perfect for mixing, scraping, and spreading. Gentle on non-stick cookware and easy to clean.
Large pot – You’ll need this to boil the whole cabbage head and soften the leaves.
large bowl –Spacious, durable large bowl ideal for mixing, serving, or food preparation. Made from sturdy material and easy to clean.
Sharp knife – For coring the cabbage and slicing out the thick stem in each leaf. A paring knife works best.
Mixing bowl – A big bowl makes it easier to combine your meat and rice filling evenly.
Cutting board – For prepping cabbage leaves and rolling them like a pro.
Full-Size Blender – is a powerful kitchen appliance for making smoothies, soups, and sauces in large batches.
3-in-1 Air Fryer – This versatile 3-in-1 air fryer offers Air Fry for healthier meals with less oil, Bake for bakery-quality desserts and treats, and Reheat to bring leftovers back to life with crispy, flavorful results.
Servings and timing
This recipe makes approximately 24 pizza chips. Preparation time is about 5 minutes, and baking time is 8 to 10 minutes. Total time is roughly 15 minutes.
Variations and Customizations
Pizza chips are extremely versatile. You can replace pepperoni with cooked sausage slices, mushrooms, or olives for a different flavor profile. For a vegetarian version, use small rounds of zucchini or eggplant as the base instead of pepperoni.
Cheese options can also be adjusted. A blend of mozzarella and cheddar adds extra richness, while provolone brings a sharper bite. For heat, sprinkle crushed red pepper flakes or use spicy pepperoni.
You can also turn these into pizza chips with sauce by adding a small drop of marinara on top of the pepperoni before the cheese, though this may slightly reduce crispness. Experimenting with toppings allows you to tailor the chips to your preferences or the occasion.
Nutrition and Dietary Info
The following nutrition information is approximate and based on one serving (6 chips).
| Nutrient | Amount per serving |
|---|---|
| Calories | 180 kcal |
| Protein | 10 g |
| Carbs | 3 g |
| Fat | 14 g |
| Saturated fat | 6 g |
| Fiber | 0 g |
| Sugar | 1 g |
| Sodium | 480 mg |
Expert Tips & Customizations
Use parchment paper
This prevents sticking and makes cleanup easy.
Watch closely
Pizza chips cook quickly and can burn if left unattended.
Cool before serving
Cooling helps the chips become crisp rather than soft.
Do not overload cheese
Too much cheese can cause spreading and uneven crisping.
Serve immediately
They are best enjoyed fresh and warm.
Storage/reheating
Pizza chips are best eaten fresh. If needed, store leftovers in an airtight container in the refrigerator for up to two days. Reheat briefly in the oven or air fryer to restore crispness. Microwaving is not recommended.
FAQs
Can I make pizza chips in an air fryer?
Yes, air fry at 190°C (375°F) for 5 to 7 minutes.
Are pizza chips low-carb?
Yes, especially when made with pepperoni only.
Can I use turkey pepperoni?
Yes, though it may be slightly less crispy.
Do I need oil?
No oil is necessary due to the fat in the pepperoni and cheese.
Can I add vegetables?
Yes, finely chopped vegetables work well.
Why are my chips soft?
They may need more cooling time or slightly longer baking.
Can I use shredded cheese?
Yes, freshly shredded cheese melts best.
Are these gluten-free?
Yes, as long as all ingredients are certified gluten-free.
Conclusion
Pizza chips are a fast, flavorful snack that delivers all the satisfaction of pizza in a crispy, bite-sized form. With minimal ingredients, quick cooking time, and endless customization options, they are an easy recipe to keep in your rotation for snacks, parties, and casual meals.
Hungry for more? Visit our website for full recipes and follow us on Pinterest for daily foodie inspo you’ll love to pin!