
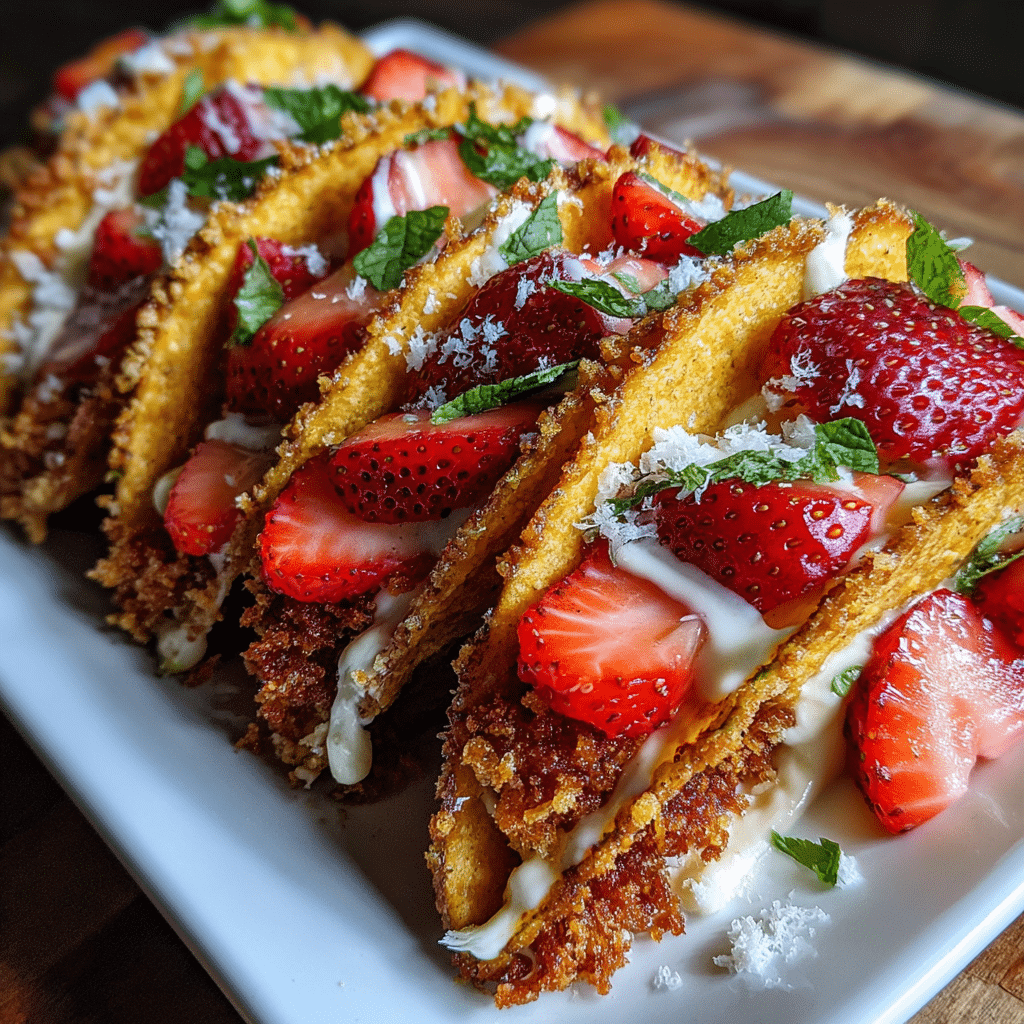
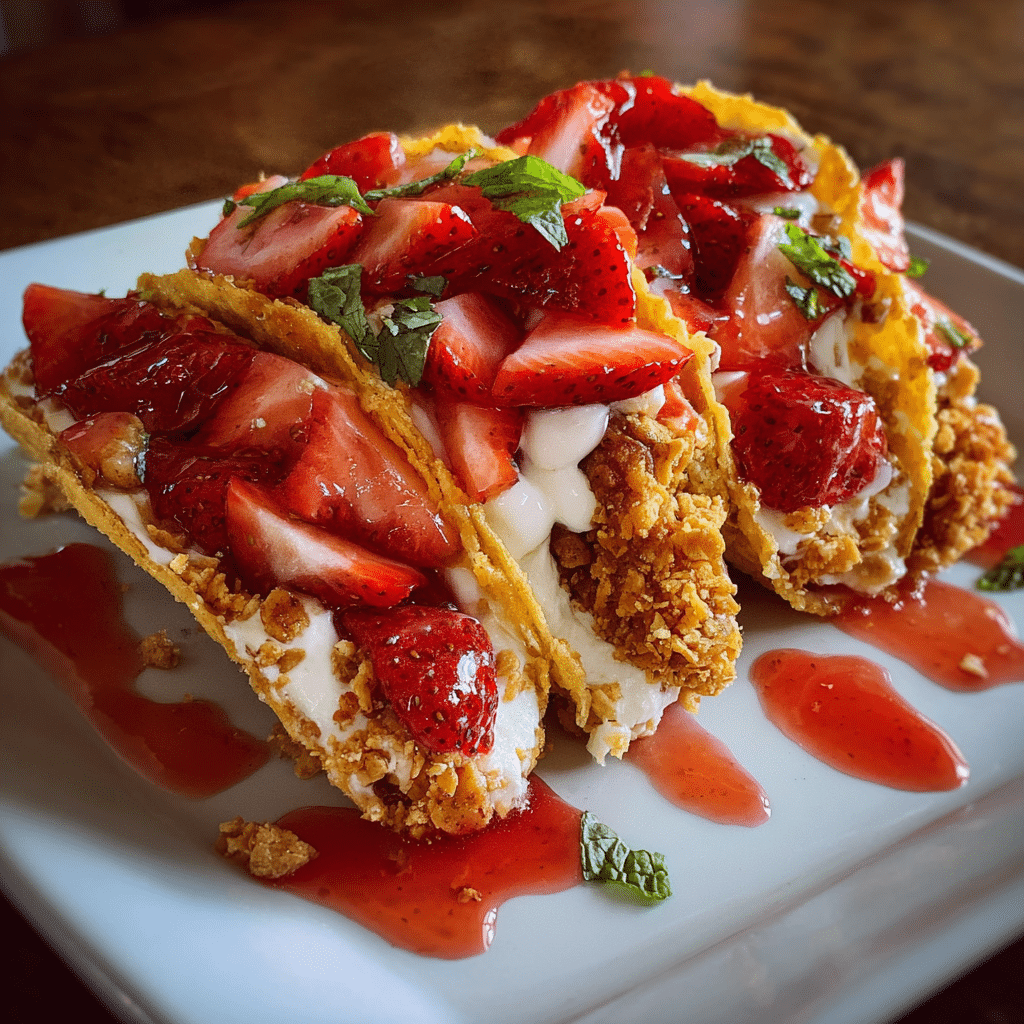
If you love the irresistible combination of creamy cheesecake and juicy strawberries, then these Strawberry Crunch Cheesecake Tacos are bound to become your next favorite dessert. This delightful recipe combines the crispiness of taco shells with the luscious flavor of strawberry cheesecake filling, topped with a nostalgic strawberry crunch crumble that reminds you of your favorite ice cream bars. I tried this with almond milk instead of regular milk for the filling, and it worked beautifully—it made the cream even lighter and silkier! Perfect for parties, summer gatherings, or when you simply crave something sweet yet refreshing, these dessert tacos are both fun to make and stunning to serve. Whether you’re an experienced baker or just looking for something creative to impress your guests, this recipe offers a delightful balance of textures and flavors that are impossible to resist.
Why You’ll Love This Recipe
These Strawberry Crunch Cheesecake Tacos combine everything you adore in one bite: a crispy shell, creamy cheesecake filling, and crunchy strawberry topping. They’re easy to make ahead of time, fun for all ages, and look like something straight out of a gourmet bakery display. Plus, they don’t require baking a full cheesecake, making them an effortless yet elegant dessert option.

Strawberry Crunch Cheesecake Tacos – The Perfect Sweet Twist on a Classic Treat
- Total Time: 30 mins
- Yield: 6 tacos
- Diet: Vegetarian
Description
These Strawberry Crunch Cheesecake Tacos combine the creamy richness of cheesecake with the fun, crispy texture of dessert tacos. Sweet taco shells are filled with a luscious cheesecake filling and topped with a strawberry crunch topping for the ultimate dessert experience.
Ingredients
- 6 small flour tortillas
- 1 cup strawberries, diced
- 1 cup cream cheese, softened
- 1/2 cup powdered sugar
- 1 tsp vanilla extract
- 1 cup heavy whipping cream
- 1/2 cup crushed Golden Oreos
- 1/2 cup freeze-dried strawberries, crushed
- 2 tbsp melted butter
- 1/4 cup granulated sugar
- 1 tsp cinnamon
Instructions
- Preheat oven to 375°F (190°C).
- Cut small circles from the tortillas using a cookie cutter.
- Brush both sides with melted butter and sprinkle with a mix of sugar and cinnamon.
- Drape tortillas over oven rack bars to form taco shapes and bake for 5–7 minutes, until golden brown. Let cool completely.
- In a large bowl, beat cream cheese, powdered sugar, and vanilla until smooth.
- In a separate bowl, whip the heavy cream to stiff peaks, then fold into the cream cheese mixture.
- In a small bowl, combine crushed Oreos and freeze-dried strawberries for the strawberry crunch topping.
- Pipe cheesecake filling into each cooled taco shell.
- Top with diced strawberries and sprinkle with strawberry crunch mixture.
- Chill for 30 minutes before serving.
Notes
- For extra crunch, coat the taco shells with white chocolate before filling.
- You can prepare the cheesecake filling up to 24 hours in advance.
- Store filled tacos in the refrigerator for up to 2 days.
- Prep Time: 20 mins
- Cook Time: 10 mins
- Category: Dessert
- Method: Baked
- Cuisine: American
Ingredients
(Tip: You can find the complete list of ingredients and their measurements in the recipe card below.)
Taco Shells: The foundation of this dessert! You can use small flour tortillas shaped into taco shells and baked until golden and crisp. They create the perfect vessel for the cheesecake filling.
Cream Cheese: Use full-fat cream cheese for a rich, velvety texture. It’s the heart of your cheesecake mixture, providing that signature tangy sweetness.
Heavy Whipping Cream: This helps achieve a fluffy and airy cheesecake filling when whipped together with cream cheese. It gives that melt-in-your-mouth effect.
Powdered Sugar: Adds sweetness and blends smoothly with the cream cheese without leaving any graininess.
Vanilla Extract: A dash of vanilla enhances the flavor, adding warmth and depth to the creamy filling.
Fresh Strawberries: Sweet, juicy, and vibrant, fresh strawberries bring brightness and natural sweetness to balance the creaminess.
Strawberry Gelatin Mix: This helps coat the crumble topping, giving that nostalgic strawberry crunch texture and color.
Golden Oreos: Crushed Golden Oreos create a buttery, crunchy base for the strawberry topping.
Butter: Melted butter binds the crumble together and gives it a slight toasty flavor when baked.
Milk (or Almond Milk): Used to thin out the filling if needed. I tried this with almond milk and found it lightened the filling wonderfully.
Directions
Start by preheating your oven to 350°F (175°C). Take small flour tortillas, brush them lightly with butter, and sprinkle with sugar. Drape each tortilla over two bars of your oven rack to form the taco shape. Bake for 6–8 minutes or until crisp and golden, then let them cool completely.
Next, prepare the strawberry crunch topping. Crush Golden Oreos into fine crumbs, mix with strawberry gelatin powder, and drizzle in melted butter. Spread the mixture on a baking sheet and bake for 5–7 minutes until lightly crisp. Let it cool before using.
For the cheesecake filling, beat cream cheese until smooth, then add powdered sugar and vanilla extract. Whip the heavy cream separately until soft peaks form, then gently fold it into the cream cheese mixture. Adjust the texture with a splash of milk or almond milk if needed.
Fill the cooled taco shells with the cheesecake mixture using a piping bag. Top with chopped fresh strawberries and a generous sprinkle of strawberry crunch. Chill in the refrigerator for about 30 minutes before serving for the best flavor and texture.
Essential Equipment :
Must-Have Tools to Get Rolling
Here’s what you’ll want to have on hand:
Silicone Spatula – Durable, heat-resistant silicone spatula perfect for mixing, scraping, and spreading. Gentle on non-stick cookware and easy to clean.
Large pot – You’ll need this to boil the whole cabbage head and soften the leaves.
large bowl –Spacious, durable large bowl ideal for mixing, serving, or food preparation. Made from sturdy material and easy to clean.
Sharp knife – For coring the cabbage and slicing out the thick stem in each leaf. A paring knife works best.
Mixing bowl – A big bowl makes it easier to combine your meat and rice filling evenly.
Cutting board – For prepping cabbage leaves and rolling them like a pro.
9×13-inch baking dish – Ideal size to fit your rolled cabbage leaves snugly and prevent them from unraveling.
knife – A sharp, durable kitchen knife perfect for slicing, chopping, and dicing with ease.
Servings and timing
This recipe makes about 8–10 cheesecake tacos.
Prep time: 25 minutes
Cook time: 10 minutes
Chill time: 30 minutes
Total time: Approximately 1 hour
Perfect for serving 6–8 people as a decadent dessert.
Storage/reheating
Store leftover tacos in an airtight container in the refrigerator for up to 2 days. For best results, keep the shells and filling separate until ready to serve to maintain crispness. The cheesecake filling can be stored for up to 3 days and piped in when needed. Avoid reheating, as these are best enjoyed chilled.
Variations and Customizations
Chocolate Drizzle Delight: Add a drizzle of melted chocolate or Nutella over the top for a rich twist.
Berry Medley: Swap strawberries for mixed berries like raspberries or blueberries for a colorful and tart variation.
Oreo Crunch: Replace Golden Oreos with chocolate Oreos for a deeper, cocoa-rich topping.
Coconut Dream: Add shredded coconut to the cheesecake filling for a tropical touch.
Lemon Zest Lift: Mix in a bit of lemon zest into the filling for a fresh, citrusy contrast.
Gluten-Free Option: Use gluten-free tortillas and cookies for those with dietary restrictions.
Mini Dessert Cups: Skip the taco shells and layer everything in small dessert cups for a no-fuss presentation.
Caramel Strawberry Bliss: Drizzle caramel sauce on top of the strawberries for a sweet, buttery finish.
Frozen Treat: Freeze the filled tacos for 1 hour for a chilled, ice-cream-like version.
Nutty Crunch: Sprinkle crushed almonds or pistachios over the top for extra texture and flavor.
FAQs
1. Can I make the taco shells ahead of time?
Yes, bake them up to a day in advance and store in an airtight container to keep them crisp.
2. Can I use pre-made taco shells?
You can use dessert taco shells or waffle shells available in stores for convenience.
3. What if I don’t have a piping bag?
Use a zip-top bag with the corner cut off—it works just as well for filling.
4. Can I substitute cream cheese?
Mascarpone cheese can be used for a milder, slightly sweeter filling.
5. How do I keep the taco shells from getting soggy?
Assemble just before serving or coat the inside with a thin layer of melted white chocolate.
6. Can I freeze the cheesecake filling?
Yes, you can freeze it for up to a month. Thaw in the fridge before using.
7. Can I use frozen strawberries?
Yes, but thaw and drain them well to avoid extra moisture.
8. Can I make this dairy-free?
Use dairy-free cream cheese and almond or coconut milk for a lighter version.
9. How long do they last in the fridge?
Best enjoyed within 2 days for the perfect crunch and creaminess.
10. What can I serve these with?
They pair beautifully with a scoop of vanilla ice cream or a drizzle of strawberry sauce.
Conclusion
Strawberry Crunch Cheesecake Tacos are a delightful dessert fusion that captures the heart of a classic cheesecake and the fun of handheld treats. With their crisp shells, creamy filling, and crunchy strawberry topping, these tacos deliver pure joy in every bite. Whether for family gatherings, parties, or a weekend indulgence, they’re as beautiful as they are delicious—simple to make, endlessly customizable, and guaranteed to impress anyone lucky enough to try them.